
|
Do it yourself
| |||
| ||||


Instructions for Replacing Lambda Sensor
Model: Fiat Punto
MK 1, 176
- Years 1993-1999
The lambda sensor, or oxygen sensor, detects the amount of oxygen present in the exhaust gases, and based on this parameter, the engine management unit adjusts the amount of fuel injected into the cylinders. An incorrect reading from the sensor will skew the operating parameters of the engine management unit, causing excessive fuel consumption. Before the warning light comes on, this is indeed the first sign of a malfunctioning sensor. Since it is located just below the exhaust manifold, just behind the cooling fan, it is advisable to replace it when the engine is cold. Unscrew the sensor, which appears as a large pin, then screw in the new one, ensuring the wiring passes through the appropriate housing before connecting the plugs and securing them in their respective locations.
Updated on 16 February 2026 by ScegliAuto
Video tutorial
Related tutorials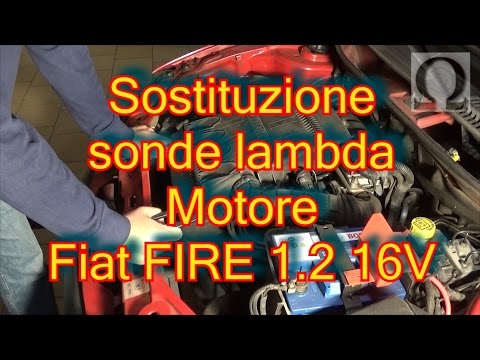
Fiat Punto
(1999-2011 /
MK 2, 188)
Is the Lambda sensor faulty? Let's see how to replace it on your Fiat Punto. Lift the front bonnet of your car and secure it. Remove the plastic engi…
Fiat Punto
(1999-2011 /
MK 2, 188)
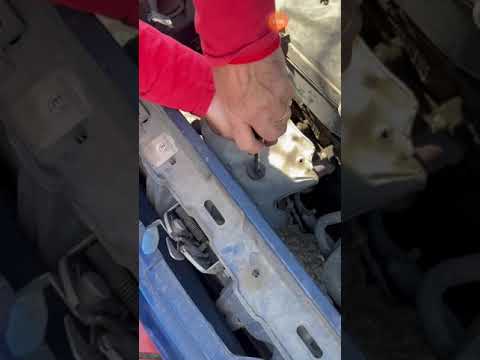
Replacing the lambda sensor in the Fiat Punto is straightforward; let's see how to proceed in this tutorial for the 1.2 petrol engine version. First,…
Fiat Punto
(1999-2011 /
MK 2, 188)
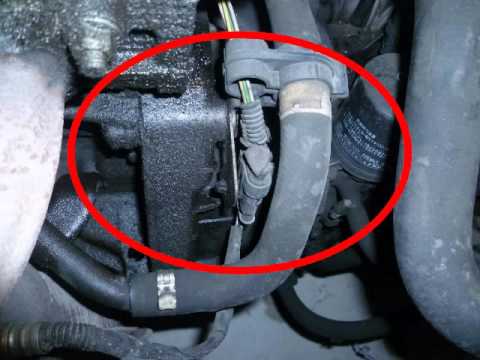
In this guide, find the main instructions to remove and replace the exhaust manifolds on the Fiat Punto. First, open the bonnet of your car and begin…
Other guides you may be interested in
|
How to reset the tyre pressure warning light on the Suzuki Jimny?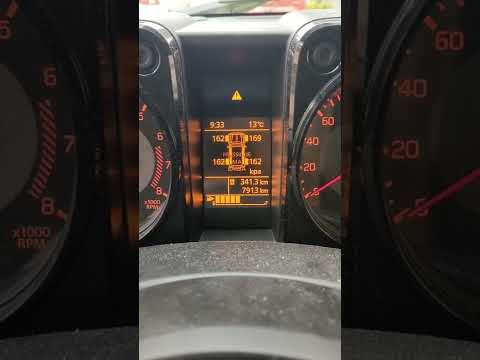
To reset the tyre pressure warning light on the Suzuki Jimny, first inflate the tyres to the pressure value indicated on the corresponding sticker: this is located at the bottom of the driver's door pillar. Once the tyres are inflated, insert the ignition key and turn on the instrument panel: select the screen that indicates the tyre pressures, checking that the values change. After a few seconds, the tyre pressure warning light will automatically turn off. by ScegliAuto More videos
|
|
For advertising on this site Write to info@scegliauto.com
ScegliAuto is not responsible for any inaccuracy of the data in the lists. To report any inaccuracy or your business (if you own the business in question), please write to info@scegliauto.com
Number of seconds to generate the page: 0.269
(c) ScegliAuto 2026 - info@scegliauto.com - Privacy policy VAT number: IT01247470535 |
