
|
Do it yourself
| |||
| ||||


How to Replace the Rear Light in a Fiat Panda 169
Model: Fiat Panda
169, MK 2
- Years 2003-2012
In this video tutorial, see how to replace the rear light in a Fiat Panda 169: the first step is to purchase a rear light from an authorised car parts dealer (also available online or at a scrapyard). Open the boot and on the left side of the right light, you will find three screws; to unscrew these, you can use a cross-head screwdriver or a 10 mm socket. Once the screws are removed, pull the light decisively towards yourself; you must also remove the three retaining clips. At this point, disconnect the connector that holds the rear light (to release the connector, simply press the tab forward and pull outward). Now transfer the bulb holder to the new light and then the three retaining clips; afterwards, reassemble all parts in reverse order.
Updated on 17 August 2026 by ScegliAuto
Video tutorial
Related tutorials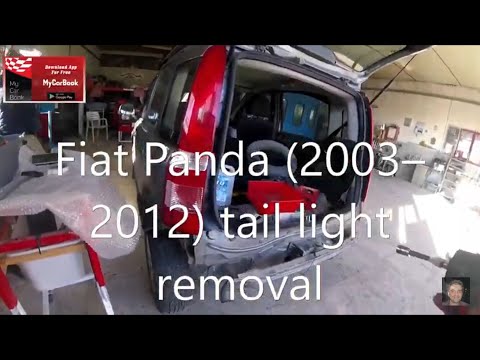
Fiat Panda
(2003-2012 /
169, MK 2)
In this short video, you will learn how to remove the rear light and replace the bulbs on a Fiat Panda second series, specifically the 169. Start by …
Fiat Panda
(2003-2012 /
169, MK 2)
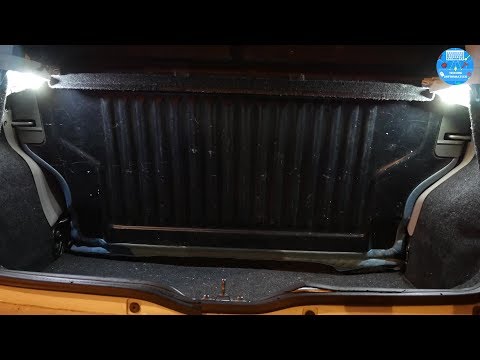
In this video tutorial, you will see how to dismantle and replace the light bulbs in the boot of a Fiat Panda 169. First, access the boot by opening …

Fiat Panda
(2003-2012 /
169, MK 2)
In today's tutorial video, learn how to remove the front fog light and replace its bulb on a Fiat Panda 169, in the 100 HP version. First, remove the…
Other guides you may be interested in |
Where is the Fuel Filter Located in a Volvo XC60?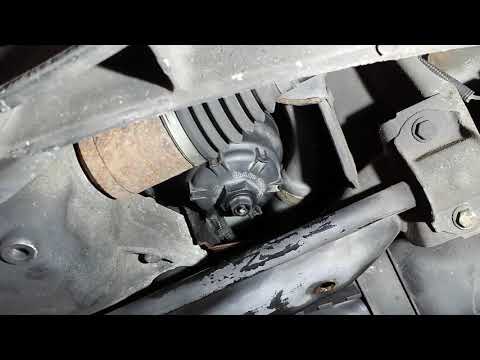
In this video, you will see where the fuel filter is located in a Volvo XC60 and how to proceed if you need to replace it. As shown, the filter is positioned at the lower part of the engine, right between the left half-shaft and the sway bar attachment. To replace the filter, first, go underneath the vehicle, taking all necessary safety precautions. Then, using an 18mm wrench, open the drain valve and allow any water present to escape. Next, unscrew the housing, remove the old filter, insert the replacement along with a new gasket, and reassemble everything. by ScegliAuto More videos
|

|
For advertising on this site Write to info@scegliauto.com
ScegliAuto is not responsible for any inaccuracy of the data in the lists. To report any inaccuracy or your business (if you own the business in question), please write to info@scegliauto.com
Number of seconds to generate the page: 0.664
(c) ScegliAuto 2026 - info@scegliauto.com - Privacy policy VAT number: IT01247470535 |
