
|
Do it yourself
| |||
| ||||


How to Replace the Dashboard Warning Light Bulbs on a Ford Focus
Model: Ford Focus
MK 1
- Years 1998-2004
Before starting the operation, disconnect the battery cables. Next, remove the steering wheel to work directly on the dashboard. To do this, slide it upwards and operate the lever on the right side of the steering wheel to unlock it and remove it from its position. Now, unscrew the three screws that secure the dashboard (located along the top edge) and, after disconnecting the power cables, slide the dashboard trim with the glass upwards to remove it. Now, unscrew the four screws that secure the dashboard itself and pull it out to work on the back. Disconnect the power supply by pressing the clip that holds the connector. At this point, you can replace the bulb corresponding to the warning light that is not illuminating.
Updated on 26 February 2026 by ScegliAuto
Video tutorial
Related tutorials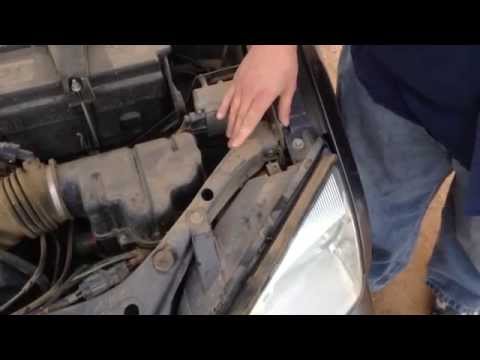
Ford Focus
(2004-2011 /
MK 2, Focus 2)
Let's see how to replace the front headlight bulbs of a Ford Focus. Open the bonnet by pulling the lever located at the bottom right of the dashboard…
Ford Focus
(2011-2018 /
MK 3)
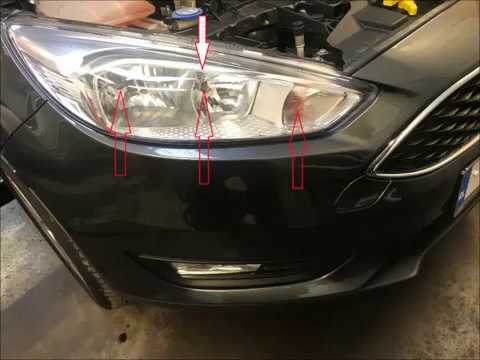
Let’s see how to replace the bulbs inside the front headlight of a Ford Focus. Lift the front bonnet by pulling the lever located at the bottom right…
Ford Focus
(2004-2011 /
MK 2, Focus 2)
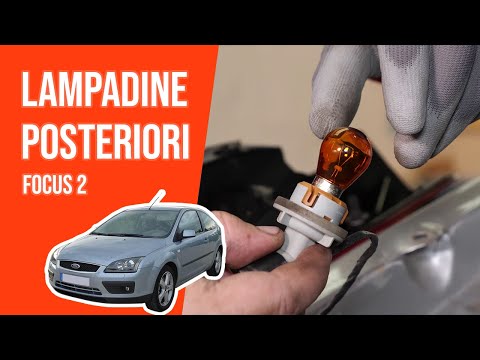
In this video we will see how to replace the rear light bulbs of the second series of the C-segment of Ford, or the Focus. We proceed by opening the …
Other guides you may be interested in
|
Frequently Asked QuestionsHow to Remove the Factory Radio on a Mercedes A-Class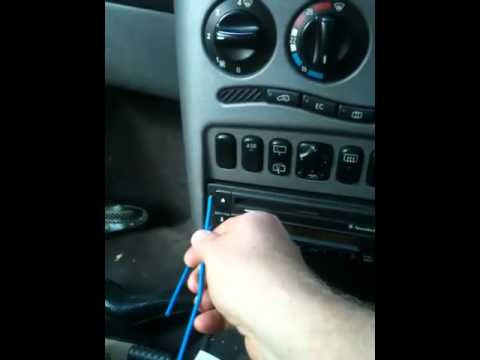
How do you remove the factory radio on a Mercedes A-Class? Let's carefully go through the disassembly process. Use the original or aftermarket metal keys to remove the car stereo: Insert the keys into the holes on the plastic trim of the stereo, pull the stereo towards you as shown in the video, and carefully extract the radio while being mindful of the various wiring (disconnect the power connectors and the antenna cable). Finally, reinstall the original radio or a generic brand with the appropriate adapter for the input and connector. by ScegliAuto More videos
|
|
For advertising on this site Write to info@scegliauto.com
ScegliAuto is not responsible for any inaccuracy of the data in the lists. To report any inaccuracy or your business (if you own the business in question), please write to info@scegliauto.com
Number of seconds to generate the page: 0.098
(c) ScegliAuto 2026 - info@scegliauto.com - Privacy policy VAT number: IT01247470535 |