
|
Do it yourself
| |||
| ||||


Radio replacement on a Ford F250
Model: Ford F-250
P356
- Years 2008-2010
Thanks to this very useful video guide today you will be able to see how to replace the car radio on a Ford F250, model produced from 2008 to 2010. Let's start by disconnecting the car's battery for safety reasons, then, with the help of a plastic lever, we remove the two masks on the sides of the central console, the one for the cigarette lighter and the one for the Sync system, and disconnect the respective wiring. Once this is done, we unscrew the two screws behind these two masks and, very carefully, remove all the plastic from the central console. At this point, we can unscrew the four screws that secure the car radio and then remove it and replace it with a new one, finally we reassemble everything following the reverse procedure.
Posted on 10 October 2024 by ScegliAuto
Video tutorial
Related tutorials
Ford F-250
(2017-2022 /
P558)
To reset the "Service" light on a Ford F250, start the instrument panel without starting the vehicle. Use the buttons on the steering wheel to naviga…

Ford F-250
(1999-2007 /
Phn131)
In the video at the bottom of the article, the fuse diagram and the location of the fuse box for the 1999 Ford F250 are shown. You can pause the vide…
Ford F-250
(2011-2016 /
P473)
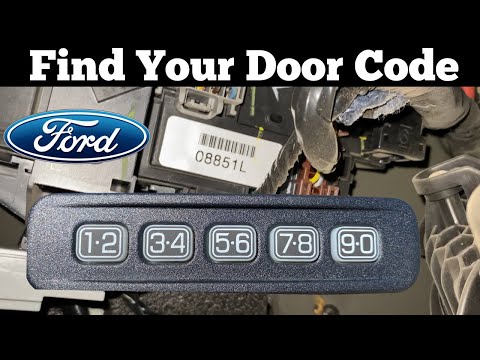
In this video we see how to find the door code on a Ford F250 Super Duty. The code is provided at the time of purchase of the new vehicle, along with…
Other guides you may be interested in
|
How to Change the Time on an Iveco Daily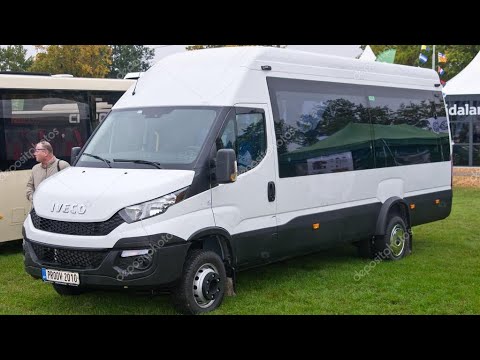
In this short video tutorial, we will see the steps necessary to change the time on the onboard computer of a 2019 Iveco Daily. First, turn on the vehicle's instrument panel, then press the "OK" button located on the central console controls to open the menu on the small central display. Now, use the arrows to scroll through the menu items and enter the vehicle's internal settings. From here, you can access the time change section and adjust the time using the arrows, and finally press the "OK" button to confirm the operation. by ScegliAuto More videos
|
|
For advertising on this site Write to info@scegliauto.com
ScegliAuto is not responsible for any inaccuracy of the data in the lists. To report any inaccuracy or your business (if you own the business in question), please write to info@scegliauto.com
Number of seconds to generate the page: 0.108
(c) ScegliAuto 2026 - info@scegliauto.com - Privacy policy VAT number: IT01247470535 |