
|
Do it yourself
| |||
| ||||


Build a DIY roof rack for the 2016 Ford Transit Connect.
Model: Ford Transit
MK 8
- Years:
2014, 2015, 2016, 2017, 2018, 2019, 2020, 2021, 2022, 2023, 2024
Video tutorial
Let's see how to build a sturdy and low-cost DIY roof rack. We utilize the existing frame crossmembers, located under the vehicle's roof covering, which are the structurally safest points. The material used is 3/4" metal tubing. Nuts are welded to the ends of each tube, creating a clean and strong attachment point, and then the 3/4" tube is welded at an angle to the brackets, forming the load-bearing structure of the crossbar. An identical crossbar is then created for the front. A crucial step to prevent leaks is the waterproofing of the attachment points. Inside, an insulating rubber panel is placed that follows the shape of the roof rib; from the outside, a rubber washer is added, and then everything is compressed with a 1/4" bolt with a wing washer, which screws into the welded nut underneath. The crossbars are positioned along the roof line, aligning them with the crossmembers, and the bolts are tightly screwed into the welded nuts on the crossbars. For the construction of the crossmembers, a suspension tube is used, which is bent (using a bender) to precisely follow the profile of the vehicle's roof. This operation must be carried out by a workshop; then the shaped and cut crossmembers are fixed to the crossbars, to which "T" bars are welded that will be used to secure the load.
Posted on 4 December 2025 by ScegliAuto
Related tutorials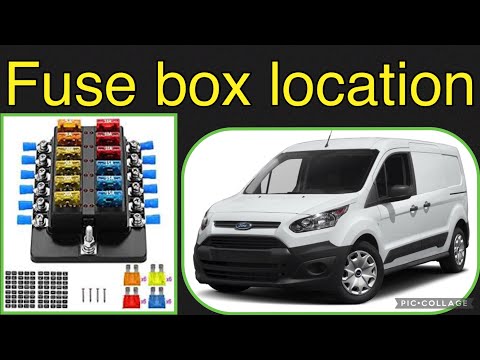
Ford Transit
(2014-2024 /
MK 8)
If one or more fuses in your 2018 Ford Transit Connect are blown and you want to replace them, follow the instructions in this mini guide to easily l…

Ford Transit
(2014-2024 /
MK 8)
If you are looking for the main fuse box of your Ford Transit Connect 2016, carefully read the instructions in this new guide. First, completely swit…

Ford Transit
(2014-2024 /
MK 8)
This brief and simple guide explains how to set the clock on the Ford Transit Connect, following the instructions below. First, get inside the vehicl…
Other guides you may be interested in
|
How to Remove the Rear Seat of a Hyundai Tucson?
To remove the rear seat of a Hyundai Tucson, follow these steps. Start by moving the front seats to their most forward position to gain space. Next, locate the release lever on the underside of the rear seat, near the floor. Press this lever down while pulling the seat upwards to unlock it from the anchor pins. Once unlocked, tilt the seat upwards and forwards to remove it from its position. Repeat this process for both sides of the rear seat. Be careful of any electrical cables or components that may be connected to the seat during removal. Once the rear seat is removed, the disassembly is complete. by ScegliAuto More videos
|
|
For advertising on this site Write to info@scegliauto.com
ScegliAuto is not responsible for any inaccuracy of the data in the lists. To report any inaccuracy or your business (if you own the business in question), please write to info@scegliauto.com
Number of seconds to generate the page: 0.024
(c) ScegliAuto 2026 - info@scegliauto.com - Privacy policy VAT number: IT01247470535 |
