
|
Do it yourself
| |||
| ||||


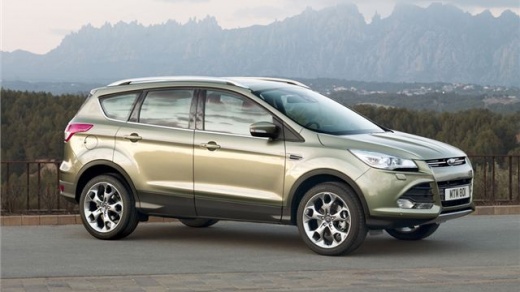
How to replace the side indicator and mirror cover on a Ford Kuga
Model: Ford Kuga
C520, MK 2
- Years 2012-2019
Replacing the side indicator and mirror cover on a Ford Kuga is straightforward. Lower the mirror glass and, using a flat screwdriver or a thin tool, unclip the two plastic clips that secure the cover. Once removed, the cover can be detached by tilting it slightly. The side indicator is held by a single clip: press it with your fingers and pull out the indicator. Disconnect the electrical connector (using a flat screwdriver if it is stiff). The cover and indicator may be damaged in case of impacts; in this case, they need to be replaced. You can find the cover to paint on Amazon with code B07BMDLD6W for £16.50, with free delivery; the indicator is also available on Amazon with code B0DMNX3R6N for £16.99, also with free delivery. To reassemble, reconnect the connector and insert the indicator until it clicks. Refit the cover by aligning the side with the housing first, then press until you hear the clicks. Note: there are different versions of mirrors for the Kuga, so check the correct replacement part.
Posted on 26 July 2026 by ScegliAuto
Video tutorial
Related tutorials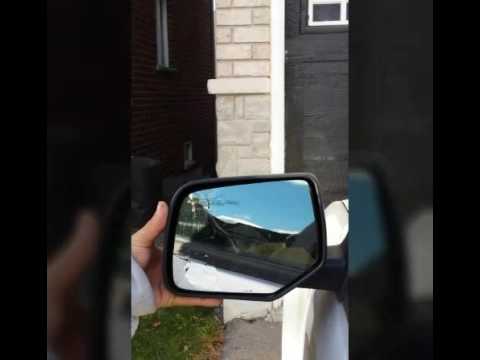
Ford Kuga
(2008-2012 /
C394, MK 1)
Is the wing mirror on your Ford Kuga damaged? Let's look at removing the external mirror. Open the car door, remove the covering plastic at the corne…

Ford Kuga
(2012-2019 /
C520, MK 2)
In this guide, you will find instructions to remove and replace the external wing mirror on a Ford Kuga. First, open the external wing door and start…

Ford Kuga
(2012-2019 /
C520, MK 2)
Today we will explain how to replace the turn signal bulb, located on the left side mirror of the Ford Kuga. We remove the glass, using a flat-head s…
Other guides you may be interested in |
How to replace the horn on a Renault Duster - Dacia Duster
Today's main instructions will show you the procedure for removing and replacing the horn or sound signal on the Renault Duster, as well as the Dacia Duster. First, open the bonnet of the vehicle and start removing the front bumper by unscrewing all the fixing screws; you will find the horn right in front of the radiator, as shown in the video. At this point, disconnect the electrical connector and unscrew the bracket screw to remove and replace the horn with the new one; finally, reassemble the front bumper! by ScegliAuto More videos
|
|
For advertising on this site Write to info@scegliauto.com
ScegliAuto is not responsible for any inaccuracy of the data in the lists. To report any inaccuracy or your business (if you own the business in question), please write to info@scegliauto.com
Number of seconds to generate the page: 0.070
(c) ScegliAuto 2026 - info@scegliauto.com - Privacy policy VAT number: IT01247470535 |
