
|
Do it yourself
| |||
| ||||


How to Replace the Trim on the Fender of a Ford F-150
Model: Ford F-150
MK 10
- Years 1997-2004
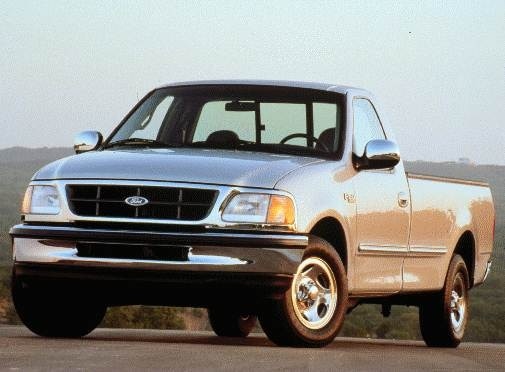
To replace the plastic trim on the Ford F-150 with a more robust one, raise the vehicle with a jack and locate the screws and clips that hold the trim in place, then remove them. Using a bodywork lever, start prying the trim off the fender, being careful to disconnect it from all its attachments. At this point, clean the entire affected area of the fender with a soft cloth. Now, working on the top part of the trim (the part not affected by the mounting screw holes), begin to apply the adhesive sleeve around the circumference of the new trim, ensuring it adheres perfectly. Next, position the trim on the fender and secure it with tape to make your work easier. Since the new trim is wider than the old one, you will need to mount it using the screws that hold the splash shield. Starting from the bottom, remove the screw on the splash shield and be careful to align the holes, then screw it in with the trim. Now, applying the corresponding extension, begin to mount the trim on the opposite side (the side near the bumper) so that it can hold itself up. Using the mounting extension, continue to secure the trim with the splash shield screws. For the trim on the rear fender, the disassembly is always the same; always be careful of screws or clips that are often hidden by dirt. After removing the old trim, place the new one and secure it at both ends with the corresponding screws and retaining plates. For the remaining part, the trim will be secured to the fender with snap plates. Once everything is finished, always check your work.
Updated on 28 May 2026 by ScegliAuto
Video tutorial
Related tutorials
Ford F-150
(2015-2020 /
MK 13)
In this tutorial, you will learn how to replace the dead battery in the remote key fob for a Ford F150. Take your key fob and open it. You will see a…

Ford F-150
(2004-2008 /
MK 11)
In this video we see how to program the remote control of the Ford F150 MK 11 version, more specifically a 2007 version: we must hold the remote cont…
Ford F-150
(2004-2008 /
MK 11)
Follow the steps in this guide to easily replace the cabin air filter in your 2008 Ford F150. First, ensure the vehicle is parked on a level surface,…
Other guides you may be interested in
|
How to Replace the Remote Battery for the Volvo XC40?
In this tutorial, you will see how to replace the battery in the remote for the Volvo XC40, a very simple and quick operation. For this, you will need a replacement battery of type CR2032 and possibly a small flathead screwdriver. First, remove the front cover by pressing the button on the metal ring, then locate the second button, press it as well, and remove the opposite cover. Next, open the circular cap, take out the old battery, and insert the new one in the opposite direction. Finally, reassemble everything. by ScegliAuto More videos
|
|
For advertising on this site Write to info@scegliauto.com
ScegliAuto is not responsible for any inaccuracy of the data in the lists. To report any inaccuracy or your business (if you own the business in question), please write to info@scegliauto.com
Number of seconds to generate the page: 0.623
(c) ScegliAuto 2026 - info@scegliauto.com - Privacy policy VAT number: IT01247470535 |
