
|
Do it yourself
| |||
| ||||


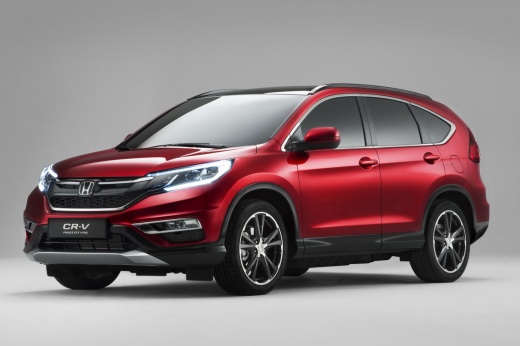
How to Replace the Cabin Air Filter on a Honda CR-V
Model: Honda CR-V
MK 4
- Years:
2012, 2013, 2014, 2015, 2016, 2017
Video tutorial
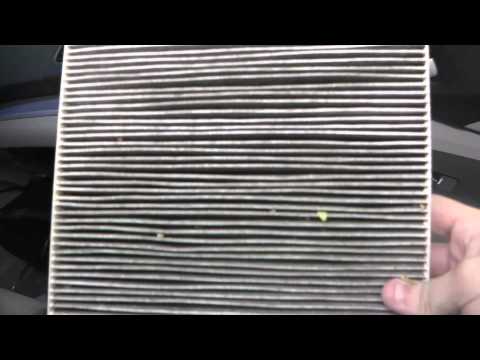
To replace this component, you need to access it, which is located at the back of the glove compartment. To remove the glove compartment, simply unclip the levers that hold it in place, allowing you to lower it completely. This will give you access to the entire air intake area in the cabin. Remove the horizontal cover of the filter to extract it easily. Then, retrace the steps described to reassemble the various components removed.
Updated on 28 February 2026 by ScegliAuto
Related tutorials
Honda CR-V
(2007-2012 /
MK 3)
Replacing the air filter on Honda CR-V models produced from 2007 to 2012 is a very simple maintenance task that can be done independently in a few st…
Honda CR-V
(2012-2017 /
MK 4)
Today, you will learn the steps to replace the cabin air filter on the fourth generation Honda CR-V, from 2012 to 2017. First, open the glove compart…
Honda CR-V
(2007-2012 /
MK 3)
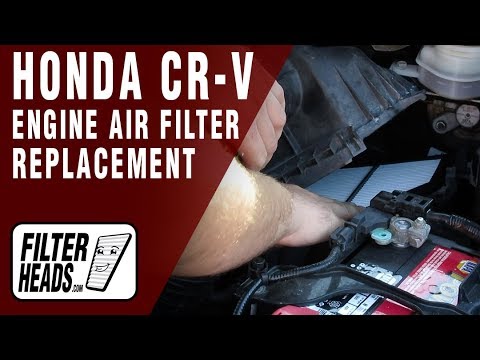
In this video tutorial, you will learn how to remove and replace the engine air filter on the Honda CR-V L4 2.4L third generation in simple steps. Fi…
Other guides you may be interested in
|
How to Reset the Tire Pressure Light on a MG ZS?
On the instrument cluster of the MG ZS, the tire pressure light that appears can be reset by inflating the tires to the correct pressure: this value will be indicated on the sticker attached to the driver's door pillar. Once the tires have been properly inflated, you can turn on the instrument cluster and navigate through the menu until you find the option that indicates tire pressure: if this screen shows the new values, the light will turn off; otherwise, you will need to drive for a few miles so that the sensors can read the new values and turn off the light afterward. by ScegliAuto More videos
|
|
For advertising on this site Write to info@scegliauto.com
ScegliAuto is not responsible for any inaccuracy of the data in the lists. To report any inaccuracy or your business (if you own the business in question), please write to info@scegliauto.com
Number of seconds to generate the page: 0.143
(c) ScegliAuto 2026 - info@scegliauto.com - Privacy policy VAT number: IT01247470535 |
