
|
Do it yourself
| |||
| ||||


How to change the engine air filter on a Honda Insight II
Model: Honda Insight
ZE3, ZE2
- Years 2009-2014
This is a very easy maintenance task that anyone can do: we turn off the engine and open the hood. The engine filter is located on the right side, in front of the passenger (in a left-hand drive vehicle) and is contained in a rectangular black plastic box, with a large flexible hose leading into the engine. The cover is secured by 4 to 6 lever clips that, if they are stiff, can be lifted with a flat screwdriver. Some versions may also have a screw that secures the cover near the flexible hose. We lift the cover (which won't come off completely because it's connected to the flexible hose, but opens enough) and remove the old filter, cover the opening of the duct with a cloth, and then clean the container well, which will definitely be dirty with dust, insects, and leaves. We remove the cloth, place the new filter in its position, and close the cover. If there was a screw, we tighten it; otherwise, we snap the clips back in place. That's it.
Posted on 20 December 2025 by ScegliAuto
Video tutorial
Related tutorials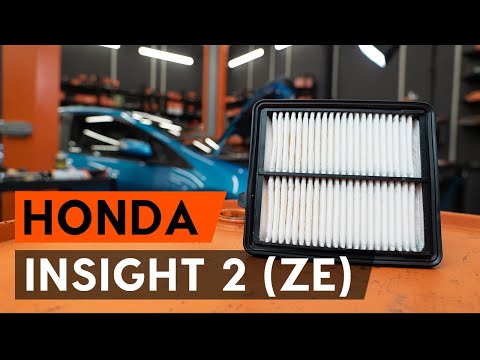
Honda Insight
(2009-2014 /
ZE3, ZE2)
In today's simple video, you will see how to replace the air filter on a second-generation Honda Insight; this operation does not require any tools. …

Honda Insight
(2009-2014 /
ZE3, ZE2)
In this video we can see where the fuse boxes of the Honda Insight are located and what their respective diagrams are, useful in case we need to chec…

Honda Insight
(2000-2006 /
ZE1)
If the devices of our Honda Insight have suddenly stopped working, we can first of all check the status of the corresponding fuses whose diagrams are…
Other guides you may be interested in
|
How to Check the Oil Level on a Jeep Renegade?
To check the oil level on a Jeep Renegade, you need to open the bonnet to access the components inside the engine bay: on the lower left side of the engine block, you will find the dipstick for checking the level. This should be pulled out and thoroughly cleaned with a cloth: once cleaned, reinsert it back into its tube and pull it out immediately after. This way, you can check that the oil mark is between the minimum and maximum levels; finally, you can place the dipstick back in its tube. by ScegliAuto More videos
|

|
For advertising on this site Write to info@scegliauto.com
ScegliAuto is not responsible for any inaccuracy of the data in the lists. To report any inaccuracy or your business (if you own the business in question), please write to info@scegliauto.com
Number of seconds to generate the page: 0.110
(c) ScegliAuto 2026 - info@scegliauto.com - Privacy policy VAT number: IT01247470535 |
