
|
Do it yourself
| |||
| ||||


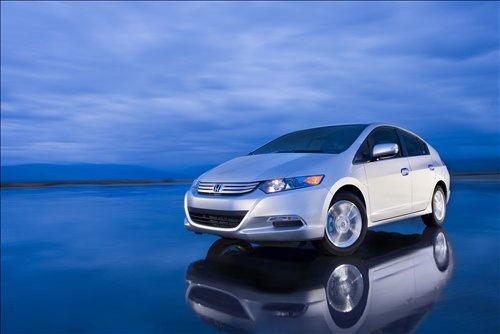
Replacing the Vehicle Air Filter
Model: Honda Insight
ZE3, ZE2
- Years:
2009, 2010, 2011, 2012, 2013, 2014
Video tutorial
This video illustrates how to replace the air filter, a fundamental component of the car's cooling system. The air filter housing in this model is located behind the glove compartment on the right side of the driver's seat, on the passenger side. Open the glove compartment, unclip the slider on the right side of the drawer, then press on both sides of the drawer to extract it. In front of you is the white air filter; remove the plastic cover corresponding to the most protruding part of the box in front of you. Inside is a special air filter; extract it and replace it, then close the cover and refit the drawer in place, always applying pressure on the sides to help it fit in, remembering to reattach the slider on the right. Finally, close the drawer.
Updated on 9 February 2026 by ScegliAuto
Related tutorials
Honda Insight
(2009-2014 /
ZE3, ZE2)
In today's simple video, you will see how to replace the air filter on a second-generation Honda Insight; this operation does not require any tools. …

Honda Insight
(2009-2014 /
ZE3, ZE2)
This is a very easy maintenance task that anyone can do: we turn off the engine and open the hood. The engine filter is located on the right side, in…

Honda Insight
(2009-2014 /
ZE3, ZE2)
Car door visors allow you to enjoy a breath of fresh air even when the weather isn't ideal. They are made of a material that resists corrosion and do…
Other guides you may be interested in
|
How to Remove the Rear Seat of a Hyundai Tucson?
To remove the rear seat of a Hyundai Tucson, follow these steps. Start by moving the front seats to their most forward position to gain space. Next, locate the release lever on the underside of the rear seat, near the floor. Press this lever down while pulling the seat upwards to unlock it from the anchor pins. Once unlocked, tilt the seat upwards and forwards to remove it from its position. Repeat this process for both sides of the rear seat. Be careful of any electrical cables or components that may be connected to the seat during removal. Once the rear seat is removed, the disassembly is complete. by ScegliAuto More videos
|
|
For advertising on this site Write to info@scegliauto.com
ScegliAuto is not responsible for any inaccuracy of the data in the lists. To report any inaccuracy or your business (if you own the business in question), please write to info@scegliauto.com
Number of seconds to generate the page: 0.109
(c) ScegliAuto 2026 - info@scegliauto.com - Privacy policy VAT number: IT01247470535 |
