
|
Do it yourself
| |||
| ||||


Replacing Front Drive Shaft Joints
Model: Honda Civic
MK 6
- Years:
1995, 1996, 1997, 1998, 1999, 2000, 2001
Video tutorial
Lift the vehicle, secure it, and remove the wheel. Required tools: 18 mm and 19 mm sockets, a 5 mm Allen key, a T-47 Torx key, a set of screwdrivers, and a large hammer. Obtain new replacement joints. Remove the protection and nut to free the shaft. Remove the support under the vehicle body that holds the drive shaft. Now you can extract the drive shaft. Secure the drive shaft in a vice and free it from the faulty joints. Generously grease and fit the new joints onto the shaft, carefully position the rubber boots which should be filled with grease, refit the new drive shaft into the differential, and reattach the support.
Updated on 4 February 2026 by ScegliAuto
Related tutorials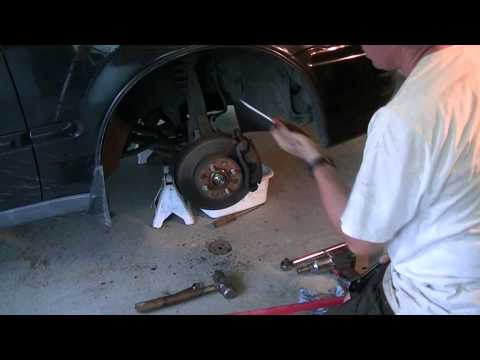
Honda Civic
(1995-2001 /
MK 6)
First, diagnose the driveshaft fault by checking for noise when turning the steering wheel to its limits.
Lift the vehicle on a lift or with a jack (…
Honda Civic
(1992-1995 /
MK 5)
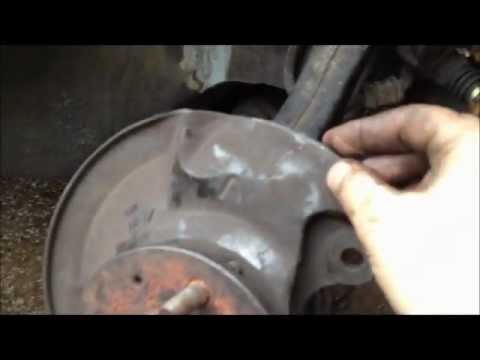
The ball joint of the front suspension wishbone is pressed into the front hub; therefore, to replace it, you need to free the hub to apply a puller. …

Honda Civic
(2001-2006 /
MK 7)
Remove the wheel in question and then the central hub nut to take everything off. Also, remove the two bolts that secure the brake piston and brake p…
Other guides you may be interested in
|
How to Replace the Glow Plugs in the Fiat Ducato 2.3 Multijet?
Glow plugs, as the name suggests, raise the temperature of the engine in diesel vehicles to allow for easier starting. The manufacturer, in this case, Fiat for the Ducato 2.3 Multijet, specifies how often they should be replaced, and a warning light will illuminate when it's time. This work is carried out under the bonnet. First, remove the upper engine cover, then lift the coil and, using a socket wrench of the appropriate size, unscrew the glow plug to remove it from the base, followed by installing the new one. by ScegliAuto More videos
|
|
For advertising on this site Write to info@scegliauto.com
ScegliAuto is not responsible for any inaccuracy of the data in the lists. To report any inaccuracy or your business (if you own the business in question), please write to info@scegliauto.com
Number of seconds to generate the page: 0.099
(c) ScegliAuto 2026 - info@scegliauto.com - Privacy policy VAT number: IT01247470535 |
