
|
Do it yourself
| |||
| ||||


Front Driveshaft Replacement
Model: Honda Civic
MK 6
- Years:
1995, 1996, 1997, 1998, 1999, 2000, 2001
Video tutorial
First, diagnose the driveshaft fault by checking for noise when turning the steering wheel to its limits. Lift the vehicle on a lift or with a jack (in the latter case, it is advisable to use axle stands for safety). Remove the wheel corresponding to the driveshaft to be replaced. Using a 32mm socket, undo the driveshaft retaining nut located at the centre of the brake disc (it is recommended to use a pneumatic gun). With a 17mm socket, loosen the retaining nut of the ball joint of the front suspension arm (remove any cotter pin present). To free the ball joint from the support, it is suggested to tap the support gently with a hammer: at this point, you can extract the driveshaft from the front hub. To extract the driveshaft from the gearbox side, leverage with a medium-sized flat screwdriver (some oil may spill out). To extract the driveshaft, it is also necessary to remove the retaining bolt of the suspension arm from the shock absorber. Then, position the new driveshaft first on the gearbox side, insert the retaining bolt of the suspension arm into the shock absorber and tighten it appropriately; now insert the other end of the driveshaft into the hub and reposition the ball joint in its support. Tighten the ball joint retaining nut (reattach the cotter pin) and the driveshaft nut (it is advisable to stake the nut to prevent it from loosening accidentally). Check the gearbox oil level and top up if necessary. Finally, reassemble the wheel and take a test drive to ensure the noise has disappeared.
Updated on 3 February 2026 by ScegliAuto
Related tutorials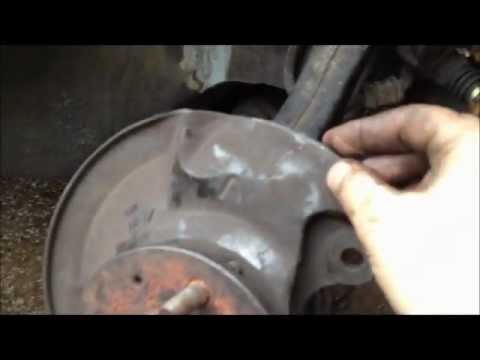
Honda Civic
(1992-1995 /
MK 5)
The ball joint of the front suspension wishbone is pressed into the front hub; therefore, to replace it, you need to free the hub to apply a puller. …

Honda Civic
(2001-2006 /
MK 7)
Remove the wheel in question and then the central hub nut to take everything off. Also, remove the two bolts that secure the brake piston and brake p…

Honda Civic
(1995-2001 /
MK 6)
Lift the vehicle, secure it, and remove the wheel. Required tools: 18 mm and 19 mm sockets, a 5 mm Allen key, a T-47 Torx key, a set of screwdrivers,…
Other guides you may be interested in
|
How to Reset the Tyre Light on a Toyota Aygo?
To reset the tyre light on a Toyota Aygo, start by locating the reset button, which is found in the glove compartment of the front passenger side. Turn on the car and ensure that the tyres are at the correct pressure. Then, press and hold the reset button for a few seconds until the tyre light either flashes or turns off, depending on the model. Release the button and wait for the reset procedure to complete. Restart your Toyota Aygo and check if the tyre light has turned off, indicating that the reset was successful. by ScegliAuto More videos
|
|
For advertising on this site Write to info@scegliauto.com
ScegliAuto is not responsible for any inaccuracy of the data in the lists. To report any inaccuracy or your business (if you own the business in question), please write to info@scegliauto.com
Number of seconds to generate the page: 0.019
(c) ScegliAuto 2026 - info@scegliauto.com - Privacy policy VAT number: IT01247470535 |
