
|
Do it yourself
| |||
| ||||


Disassembly and Cleaning of Brake Drums and Shoes
Model: Honda Accord
MK 7
- Years:
2002, 2003, 2004, 2005, 2006, 2007
This video is currently unavailable
For this operation, you will need the following tools: 12mm socket, screwdriver set, brake cleaner, and rags. First operation: lift the vehicle and remove the wheel bolts and the wheel itself. Unscrew the screws of the drum and remove it. Using a wire brush attached to a drill, remove dirt and rust from both the inside and outside of the drum. Spray brake cleaner inside the shoe assembly and remove the retaining springs. Remove both shoes from the support. Generously spray brake cleaner inside the brake. Clean the entire interior of the brake with a toothbrush. Unscrew the brake screws and remove all parts. Thoroughly clean all brake components of rust, mud, and deposits to prevent seizing. Prepare the new brake linings. Clean and lubricate the moving parts. Carefully reassemble all parts, including the springs in their designated guides. Refit the remaining springs in their positions. Ensure the components move freely. Lubricate the drum well and install it. Install the return springs. Install the E brake cable. Install the brake lining assembly and install the E cable. Install the remaining parts. Spray more brake cleaner on the linings and wipe with a cloth. Refit the drum and ensure correct operation by pulling the brake cable. Check the proper functioning of the handbrake.
Updated on 8 February 2026 by ScegliAuto
Related tutorials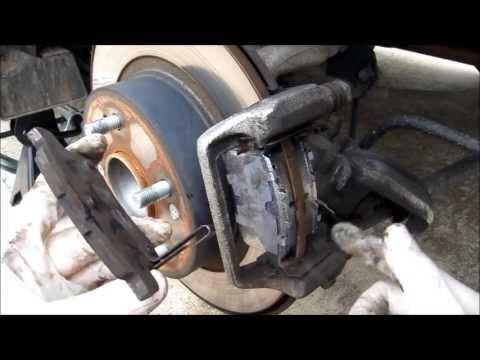
Honda Accord
(2008-2013 /
MK 8)
Lift the vehicle and secure it. Remove the wheel and gently detach the caliper by removing the two retaining bolts with a ratchet spanner. Remove the…

Honda Accord
(1998-2002 /
MK 6)
Start by noting that cleaning the front headlamp is one of the simplest tasks to perform. You just need to ensure you use a specific product for clea…

Honda Accord
(2008-2013 /
MK 8)
Cleaning and replacing the engine air filter is an aspect that should not be overlooked to maintain high performance in your car. Cleaning and mainte…
Other guides you may be interested in
|
How to Reset the Tire Pressure Light on a MG ZS?
On the instrument cluster of the MG ZS, the tire pressure light that appears can be reset by inflating the tires to the correct pressure: this value will be indicated on the sticker attached to the driver's door pillar. Once the tires have been properly inflated, you can turn on the instrument cluster and navigate through the menu until you find the option that indicates tire pressure: if this screen shows the new values, the light will turn off; otherwise, you will need to drive for a few miles so that the sensors can read the new values and turn off the light afterward. by ScegliAuto More videos
|
|
For advertising on this site Write to info@scegliauto.com
ScegliAuto is not responsible for any inaccuracy of the data in the lists. To report any inaccuracy or your business (if you own the business in question), please write to info@scegliauto.com
Number of seconds to generate the page: 0.041
(c) ScegliAuto 2026 - info@scegliauto.com - Privacy policy VAT number: IT01247470535 |
