
|
Do it yourself
| |||
| ||||


Replacement of the Steering Rack Tie Rod
Model: Honda CR-V
MK 1
- Years 1995-2001
Before proceeding with the disassembly operations, it is advisable to obtain a ball joint separator necessary to remove the tie rod end from its seat. Lift the vehicle on suitable axle stands and remove the front wheel. Before removing the tie rod end, count the number of exposed threads on the tie rod itself to have a reference for maintaining the alignment. Then, loosen the tie rod's lock nut, remove the safety clip, and unscrew the fastening nut of the tie rod end; use the separator to remove it (if necessary) and unscrew it from the tie rod, counting the number of turns. Next, remove the boot from the tie rod to access the ball joint that secures the tie rod to the steering rack. Unscrew the tie rod and install the new one, tightening it securely. Insert and secure the new boot with the appropriate clips, and finally, install the new tie rod end by screwing it in the same number of turns, positioning it in its seat, tightening the fastening nut, applying the safety clip, and tightening the lock nut.
Updated on 9 February 2026 by ScegliAuto
Video tutorial
Related tutorials
Honda CR-V
(2007-2012 /
MK 3)
First, remove the wheel. Loosen the nut located between the tie rod and the steering rack boot. Then, remove the clip located behind the brake disc a…
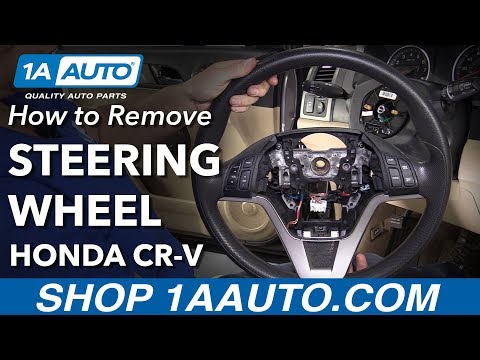
Honda CR-V
(2007-2012 /
MK 3)
Open the panel just below the steering wheel to disconnect the 2 airbag connectors, using a plastic lever. Now, with a Torx key, remove the bolts on …
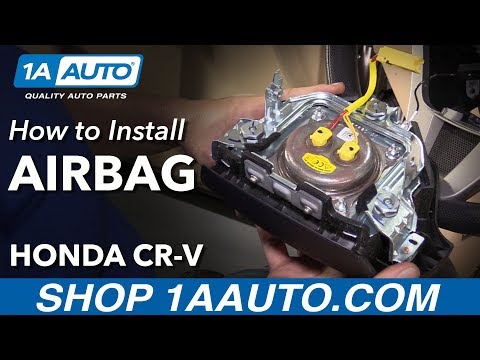
Honda CR-V
(2007-2012 /
MK 3)
A crucial component for your safety.
To access it, remove the panel on the underside of the steering wheel and disconnect the connectors, which shoul…
Other guides you may be interested in
|
How to Open the Bonnet on the Lancia Y
To open the bonnet on this vehicle, follow these simple instructions: first, open the driver's door and locate the lever positioned just below the dashboard, marked with an image of the vehicle with the bonnet open. Pull this lever towards you until you hear a "click" indicating the bonnet is released. Next, exit the cabin and stand in front of the bonnet to disengage the safety catch and complete the opening. To do this, slightly lift the bonnet, locate the yellow lever underneath, and pull it to the left to fully release and open the bonnet. by ScegliAuto More videos
|
|
For advertising on this site Write to info@scegliauto.com
ScegliAuto is not responsible for any inaccuracy of the data in the lists. To report any inaccuracy or your business (if you own the business in question), please write to info@scegliauto.com
Number of seconds to generate the page: 0.082
(c) ScegliAuto 2026 - info@scegliauto.com - Privacy policy VAT number: IT01247470535 |
