
|
Do it yourself
| |||
| ||||


Removing the Clock from the Honda CR-V
Model: Honda CR-V
MK 1
- Years 1995-2001
This brief and simple guide outlines the steps to remove and replace the clock located on the dashboard, next to the air vents, of the Honda CR-V. First, get in the vehicle and start prying on the sides of the air vents to detach them; then disconnect the electrical connector of the clock found at the back, as shown in the video. At this point, if necessary, replace the old clock with the new one; correctly insert it back into the air vent housing before reassembling everything on the dashboard!
Updated on 9 May 2026 by ScegliAuto
Video tutorial
Related tutorials
Honda CR-V
(1995-2001 /
MK 1)
In this video tutorial, learn how to disassemble and replace the dashboard clock on the first-generation Honda CR-V by following these simple steps. …

Honda CR-V
(2012-2017 /
MK 4)
In this tutorial we can see how to adjust the time in the Honda CR-V, an extremely simple and fast operation, to be carried out for example after rep…
Honda CR-V
(2007-2012 /
MK 3)
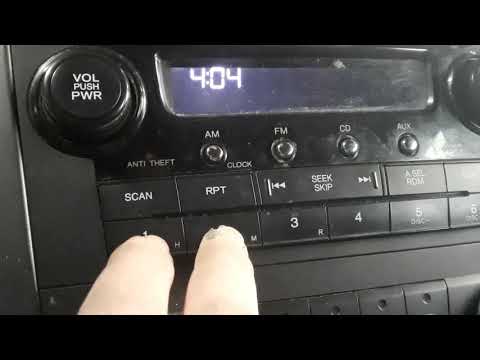
In today's video tutorial, you will learn how to adjust the clock on the Honda CR-V's radio by following these simple and quick steps. First, get in …
Other guides you may be interested in
|
How to Open the Bonnet on the Lancia Y
To open the bonnet on this vehicle, follow these simple instructions: first, open the driver's door and locate the lever positioned just below the dashboard, marked with an image of the vehicle with the bonnet open. Pull this lever towards you until you hear a "click" indicating the bonnet is released. Next, exit the cabin and stand in front of the bonnet to disengage the safety catch and complete the opening. To do this, slightly lift the bonnet, locate the yellow lever underneath, and pull it to the left to fully release and open the bonnet. by ScegliAuto More videos
|
|
For advertising on this site Write to info@scegliauto.com
ScegliAuto is not responsible for any inaccuracy of the data in the lists. To report any inaccuracy or your business (if you own the business in question), please write to info@scegliauto.com
Number of seconds to generate the page: 0.697
(c) ScegliAuto 2026 - info@scegliauto.com - Privacy policy VAT number: IT01247470535 |
