
|
Do it yourself
| |||
| ||||


Replacing the PCV Valve on a Honda Accord
Model: Honda Accord
MK 9
- Years 2012-2017
To replace the PCV (Positive Crankcase Ventilation) valve, first open the front bonnet. Next, locate the valve next to the upper engine cover (the one with the HONDA logo). Obtain a socket spanner. Then, unscrew the bolt located at the top of the valve, taking care not to drop or lose it in the engine bay. Gently pull the valve from its seat and compare it with the new replacement. The code provided in this video is 17130-5A2-A01. At this point, insert the new valve into its seat and screw in the retaining bolt.
Updated on 30 May 2026 by ScegliAuto
Video tutorial
Related tutorials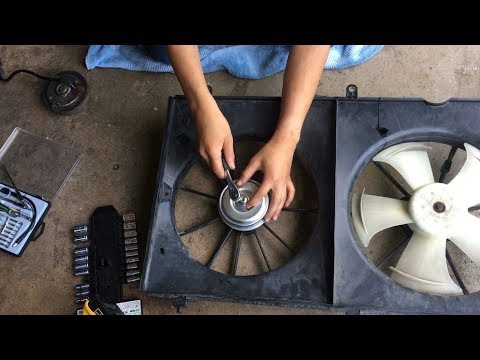
Honda Accord
(2002-2007 /
MK 7)
Before you start, open the bonnet of your Honda Accord. Begin by disconnecting the hoses connected to the radiator fan, then unplug the electrical co…
Honda Accord
(2002-2007 /
MK 7)
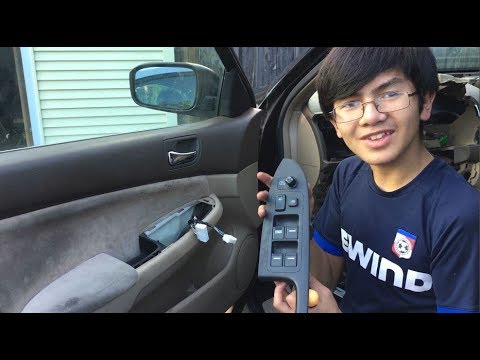
Before you can start, open the front door of your Honda Accord. Begin by prising out and lifting the window switch panel using a flathead screwdriver…

Honda Accord
(1998-2002 /
MK 6)
The fuse box of your Honda Accord (year 1998-2002) is located inside the cabin and thanks to the directions provided in the following guide, you will…
Other guides you may be interested in
|
How to Replace the Battery on a Honda Vision 110
To replace the battery on a Honda Vision 110, you need to remove the front fairing of the motorcycle, located directly under the front headlamp. To loosen this panel, unscrew the two screws found at its top, just below the handlebar. Once these screws are loosened, lever under the panel to detach it, gaining access to the battery underneath: this battery must be removed from its housing by unscrewing the fixing screws and disconnecting the power cables, replacing it with a new one. by ScegliAuto More videos
|

|
For advertising on this site Write to info@scegliauto.com
ScegliAuto is not responsible for any inaccuracy of the data in the lists. To report any inaccuracy or your business (if you own the business in question), please write to info@scegliauto.com
Number of seconds to generate the page: 0.069
(c) ScegliAuto 2026 - info@scegliauto.com - Privacy policy VAT number: IT01247470535 |
