
|
Do it yourself
| |||
| ||||


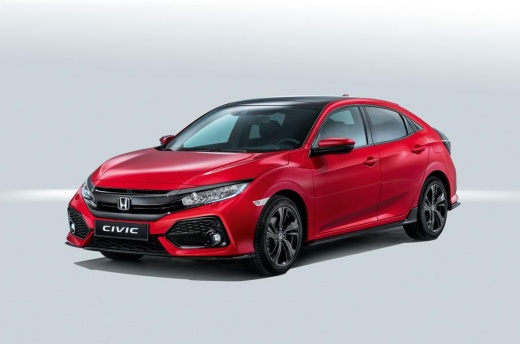
How to Replace the Cabin Filter in the Honda Civic?
Model: Honda Civic
MK 9
- Years:
2012, 2013, 2014, 2015
Video tutorial
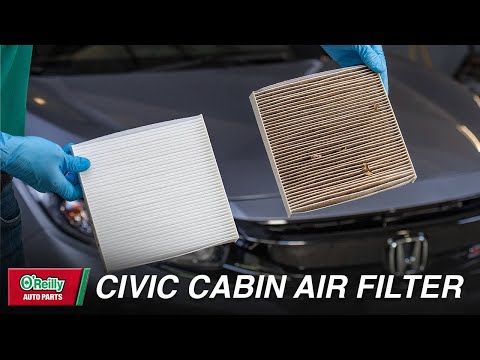
In this tutorial, see how to replace the cabin air filter in the Honda Civic, an extremely simple and cost-effective operation. First, go to the passenger seat, then open the glove compartment, press both sides inward, and disconnect the damper on the left side. Once the drawer is completely removed, open the long rectangular cover, extract the old filter, and thoroughly clean the housing of any debris. To install the new part, simply follow the reverse procedure.
Updated on 8 July 2026 by ScegliAuto
Related tutorials
Honda Civic
(2001-2006 /
MK 7)
To replace the cabin filter on a Honda Civic, open the glove compartment located on the passenger side. Disconnect the side retaining clips. Once the…
Honda Civic
(2016-2021 /
MK 10)
This tutorial shows how to replace the cabin air filter in the Honda Civic MK10, a very simple and quick operation. First, since the filter is locate…

Honda Civic
(2016-2021 /
MK 10)
Follow these steps to remove and replace the cabin air filter in a Honda Civic. First, get inside the vehicle and open the glove compartment on the p…
Other guides you may be interested in
|
How to reset the tyre pressure warning light on the Kia Niro EV?
To reset the tyre pressure warning light on the Kia Niro EV, inflate the tyres until they reach the correct pressure value. This value is indicated on the sticker attached to the driver's door pillar. Once the tyres are inflated, turn on the instrument cluster to check that the warning light has completely disappeared from the display. If it is still present, you may need to drive for a few miles to ensure it disappears completely from the screen. by ScegliAuto More videos
|
|
For advertising on this site Write to info@scegliauto.com
ScegliAuto is not responsible for any inaccuracy of the data in the lists. To report any inaccuracy or your business (if you own the business in question), please write to info@scegliauto.com
Number of seconds to generate the page: 0.138
(c) ScegliAuto 2026 - info@scegliauto.com - Privacy policy VAT number: IT01247470535 |
