
|
Do it yourself
| |||
| ||||


Honda CR-V - Video tutorial
Model: Honda CR-V
MK 3
- Years 2007-2012 Let's see how to replace the wiper switch carefully. First step: with the help of a spatula we go to open the plastic plate placed under the steering wheel of our car and disconnect the power supply terminals. Second step: with a socket wrench unscrew the tightening screws placed on the sides of the steering wheel so as to remove the central piece of the airbag. Let's unscrew the central pin of the steering wheel and mark the current position with a marker, and then reassemble it. Remove the steering wheel and unscrew the screws of the same cover with a screwdriver, then, all the screws of the command switch and always remove it after disconnecting the relevant terminals. At this point we must unscrew the command that we are going to replace of the window regulator diverter piece. Let's reassemble everything by going backwards: mount the light switch, hook the clamps, tighten all the screws and cover plastics. Finally we mount the steering wheel with the locking pin and the airbag above it. - Plastic spatula - Torx t30 insert - Ratchet wrench - Torque wrench - Various screwdrivers.
Posted on 27 September 2023 by ScegliAuto
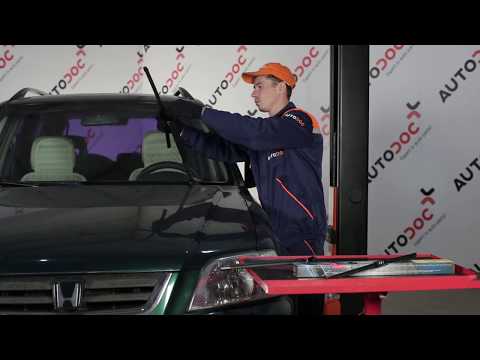 How to replace the wiper blades in a Honda CRV
Honda CR-V (1995-2001 / MK 1) Today I will explain in this short video how to replace the wiper blades on our Honda CRV, without seeking the help of a professional so as to save b 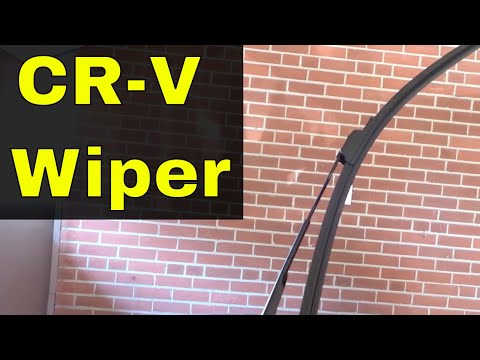 Honda CR-V MK5 front wipers replacement
Honda CR-V (2017-2022 / MK 5) In this video tutorial we will see how to remove and replace the Honda CR-V fifth series wipers, but also on most of the manufacturer's models. First
Replacing the front wiper blades of a Honda CR V 1 seriesHonda CR-V (1995-2001 / MK 1) The video shows how to replace the front wiper blades of a first series Honda CR V. It is an elementary operation that can be carried out in a few mi Other guides that may interest you
|
Frequently Asked QuestionsHow to reset the Renault Master AdBlue warning light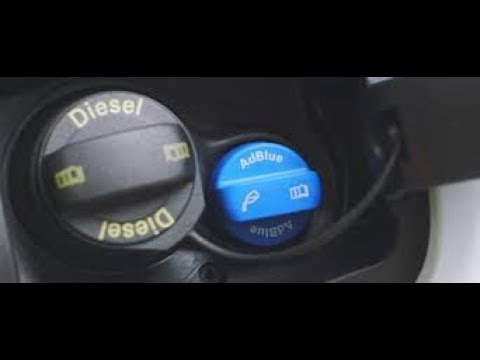
If when you turn on the ignition you see a strange warning relating to AdBlue, do not worry because it is nothing serious. Everything is solved in a few minutes and with a very low cost. In fact, it is a particular additive used in Diesel engines to reduce the environmental impact. Before continuing with the various steps it is therefore necessary to purchase a tank of AdBlue. Furthermore, all the various operations must be carried out with the engine off. The AdBlue tank is located on the passenger side, between the door and the tailgate. Unscrew the blue cap present and pour in the new AdBlue with the help of a rubber hose or an appropriate funnel. Once this is done, you can close the tank and the flap. Switch on the ignition again and the warning light has disappeared. by ScegliAuto More videos
|
|
For advertising on this site Write to info@scegliauto.com
ScegliAuto is not responsible for any inaccuracy of the data in the lists. To report any inaccuracy or your business (if you own the business in question), please write to info@scegliauto.com
Number of seconds to generate the page: 0.047
(c) ScegliAuto 2024 - info@scegliauto.com - Privacy Policy VAT number: IT01247470535 |