
|
Do it yourself
| |||
| ||||


How to Replace the Window Switch in a Hyundai Santa Fe
Model: Hyundai Santa Fe
MK 1
- Years:
2000, 2001, 2002, 2003, 2004, 2005, 2006
Video tutorial
To replace the window switch in a first series Hyundai Santa Fe, you need to remove the door panel as shown in the attached tutorial. To remove the panel, start by unscrewing the screw inside the opening handle and the surrounding trim. Unscrew the screw inside the large grab handle and the screws around the perimeter of the panel, some of which are covered by plastic caps that need to be removed first, as shown in the video. Carefully pry the panel away using a flat tool and separate it from the door. Replacing the switch is straightforward as it is secured by two screws. Finally, reassemble everything by following the reverse procedure.
Updated on 20 May 2026 by ScegliAuto
Related tutorials
Hyundai Santa Fe
(2000-2006 /
MK 1)
To replace the window switch on the Hyundai Santa Fe, you first need to remove the corresponding door panel. By loosening the screws located on the s…
Hyundai Santa Fe
(2000-2006 /
MK 1)
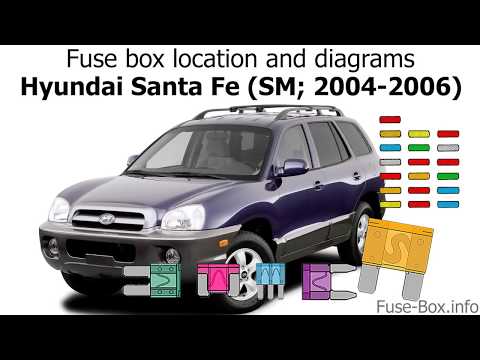
Fuses are electrical components that protect the electrical circuit of your Hyundai Santa Fe from voltage overloads or short circuits. They are prima…

Hyundai Santa Fe
(2012-2018 /
MK 3)
This guide will explain how to easily locate the fuse box containing all the fuses for your 2017 Hyundai Santa Fe. First, lift the bonnet to gain acc…
Other guides you may be interested in
|
Where to Find and How to Remove the Spare Wheel of a Peugeot 5008?
The spare wheel of a Peugeot 5008 is located under the rear of the vehicle. To remove it, you need to lift the third row of seats to access the fixing bolt that holds the spare wheel in position. Using the correct spanner, proceed to unscrew the fixing bolt until the wheel is no longer secured. At this point, you can extract the spare wheel from underneath the vehicle. Once you have completed this step, you are free to fit the spare wheel. Ensure you correctly remount the spare wheel and securely tighten the fixing bolt when you are finished. by ScegliAuto More videos
|
|
For advertising on this site Write to info@scegliauto.com
ScegliAuto is not responsible for any inaccuracy of the data in the lists. To report any inaccuracy or your business (if you own the business in question), please write to info@scegliauto.com
Number of seconds to generate the page: 0.019
(c) ScegliAuto 2026 - info@scegliauto.com - Privacy policy VAT number: IT01247470535 |
