
|
Do it yourself
| |||
| ||||



Hyundai I30 Warranty Services
Model: Hyundai I30
GD, MK 2
- Years:
2011, 2012, 2013, 2014, 2015, 2016
Video tutorial
The Hyundai warranty (in the case of the video, the Hyundai I30 is mentioned) is a package that offers various assistance services valid for 5 years with no mileage limit; this package provides, over the 5 years, roadside assistance services, free check-up services, for example, at the beginning of winter or summer, if you want to have a check-up on your car, you can do so by taking it to a Hyundai dealer. This service can also be used if, within the 5 years, for example, after three years from purchase, you want to sell the car, the buyer will benefit from the additional 2 years of official Hyundai warranty.
Updated on 20 July 2026 by ScegliAuto
Related tutorials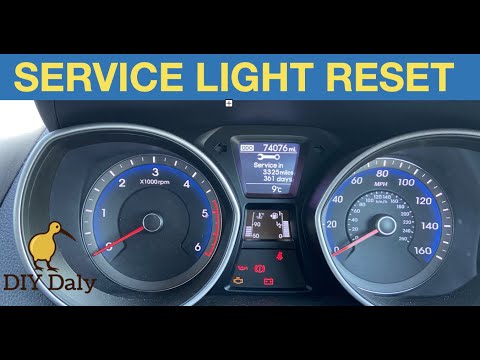
Hyundai I30
(2011-2016 /
GD, MK 2)
To reset the service light on the Hyundai i30 Mk2 after completing the required services, first, get into the car and close the doors. Turn on the ig…

Hyundai I30
(2016-2024 /
MK 3, PD)
Replacing the engine air filter in your latest Hyundai i30 is very simple, and by following the steps in this guide, you can complete the task in jus…

Hyundai I30
(2011-2016 /
GD, MK 2)
To locate the OBD port on your Hyundai i30, follow these simple steps. First, get into the car and sit in the driver's seat. Ensure the vehicle is co…
Other guides you may be interested in |
How to Remove the Rear Seat of a Hyundai Tucson?
To remove the rear seat of a Hyundai Tucson, follow these steps. Start by moving the front seats to their most forward position to gain space. Next, locate the release lever on the underside of the rear seat, near the floor. Press this lever down while pulling the seat upwards to unlock it from the anchor pins. Once unlocked, tilt the seat upwards and forwards to remove it from its position. Repeat this process for both sides of the rear seat. Be careful of any electrical cables or components that may be connected to the seat during removal. Once the rear seat is removed, the disassembly is complete. by ScegliAuto More videos
|
|
For advertising on this site Write to info@scegliauto.com
ScegliAuto is not responsible for any inaccuracy of the data in the lists. To report any inaccuracy or your business (if you own the business in question), please write to info@scegliauto.com
Number of seconds to generate the page: 0.010
(c) ScegliAuto 2026 - info@scegliauto.com - Privacy policy VAT number: IT01247470535 |
