
|
Do it yourself
| |||
| ||||


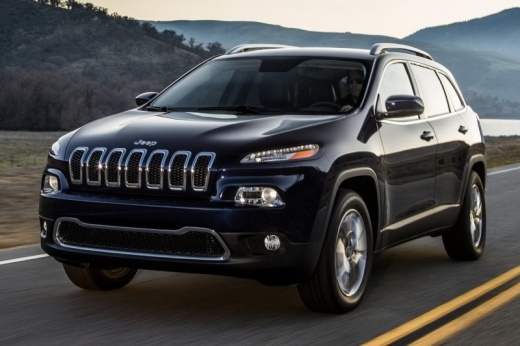
How to Replace the Right Front Headlamp on a Jeep Cherokee
Model: Jeep Cherokee
KL, MK 5
- Years:
2013, 2014, 2015, 2016, 2017, 2018, 2019, 2020, 2021, 2022, 2023
Video tutorial
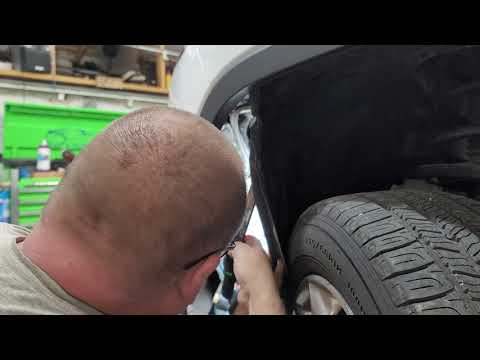
To replace the right front headlamp on a Jeep Cherokee, follow the instructions in the video, which shows that there is a hole in the wing on the passenger side that makes the job easier. Also, as suggested in the video, it may be advisable to temporarily remove the washer fluid reservoir for easier access. On the front grille of the Jeep, locate the four star screws that secure the trim around the headlamp; remove these screws and take off the trim, which allows you to see a metal ring holding the headlamp in place, with two star screws on it. Hold the headlamp with one hand while removing these screws; otherwise, the headlamp will fall forward. Disconnect the electrical connector. For reassembly, follow the reverse steps: reconnect the connector, position the headlamp, reattach the retaining ring with its two screws, screw the outer trim back on with the four screws, and reattach the reservoir if it was removed.
Posted on 7 October 2026 by ScegliAuto
Related tutorials
Jeep Cherokee
(2013-2023 /
KL, MK 5)
Let’s see how to disassemble and replace the headlamp bulb on a 2016 Jeep Cherokee, fourth series, in simple and quick steps. To access the headlamp …
Jeep Cherokee
(2013-2023 /
KL, MK 5)
Follow this brief and simple guide to remove and replace the dipped beam bulb of the front headlamp on the fifth generation Jeep Cherokee. First, tur…

Jeep Cherokee
(2013-2023 /
KL, MK 5)
Here’s how to replace the front headlamp bulb in a Jeep Cherokee. First, turn the corresponding front wheel inwards towards the headlamp where the bu…
Other guides you may be interested in
|
How to Set the Date and Time on the Iveco Daily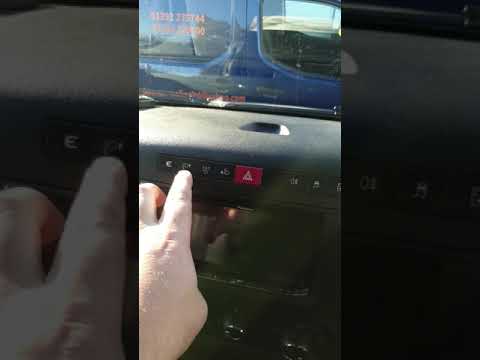
Today, we will see in this video tutorial how to change the date and time on the Iveco Daily. First, get into the vehicle and turn on the instrument panel; then go to the vehicle settings on the central display, pressing the relevant option for date and time. At this point, press the "set" button located at the top, using the physical arrow buttons to set both the date and time; finally, exit the onboard computer menu to save the changes made! by ScegliAuto More videos
|
|
For advertising on this site Write to info@scegliauto.com
ScegliAuto is not responsible for any inaccuracy of the data in the lists. To report any inaccuracy or your business (if you own the business in question), please write to info@scegliauto.com
Number of seconds to generate the page: 0.060
(c) ScegliAuto 2026 - info@scegliauto.com - Privacy policy VAT number: IT01247470535 |
