
|
Do it yourself
| |||
| ||||


Kia Picanto - Door trim panelDoor Trim Panel Kia Picanto (2011-2018 / ta, mk 2)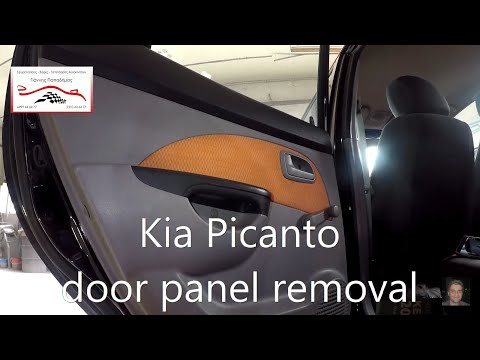 Kia Picanto (2004-2011 / 2A, MK 1)
Disassembling the Rear Door Panel on a Kia Picanto In this video tutorial, see how to disassemble the rear door panel on a first-generation Kia Picanto by following these simple steps. First, open the rear door …Read all… Posted on 5 May 2026 by ScegliAuto  Kia Picanto (2011-2018 / TA, MK 2)
How to Remove the Speaker from a Kia Picanto To remove the speaker from a Kia Picanto, first take off the door panel. Before starting, disconnect the battery terminals in the engine bay. Use a screwdriver …Read all… Posted on 1 April 2026 by ScegliAuto 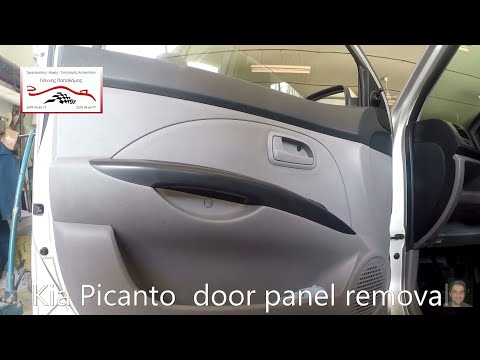 Kia Picanto (2004-2011 / 2A, MK 1)
How to Remove the Driver's Door Panel on a Kia Picanto How to remove the driver's door panel on a Kia Picanto? Follow these steps: before starting the disassembly, disconnect the battery terminals located in the …Read all… Posted on 16 March 2026 by ScegliAuto 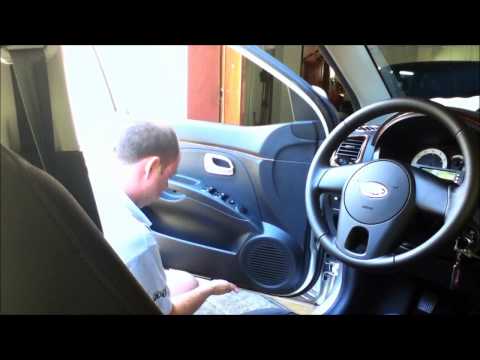 Kia Picanto (2004-2011 / 2A, MK 1)
How to Remove the Door Panel on a Kia Picanto First, remove all the screws around the panel. Next, remove the screw hidden behind the handle and the one behind the armrest; these last two are easy to find …Read all… Posted on 7 March 2026 by ScegliAuto 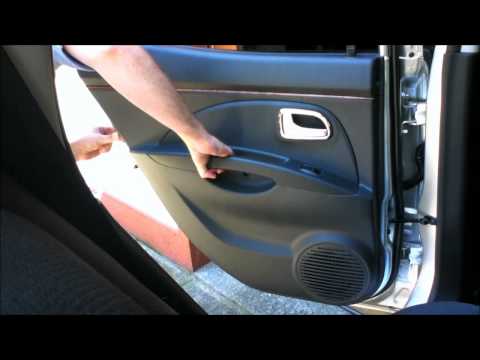 Kia Picanto (2004-2011 / 2A, MK 1)
Removing the Door Panel for Replacement The tools needed for this operation are: a flathead screwdriver, a Phillips screwdriver, a Torx key, and a spatula. Remove the handle cover and unscrew the …Read all… Posted on 12 February 2026 by ScegliAuto Door Trim Panel Kia Picanto (2004-2011 / 2a, mk 1)
Kia Picanto (2004-2011 / 2A, MK 1)Disassembling the Rear Door Panel on a Kia Picanto In this video tutorial, see how to disassemble the rear door panel on a first-generation Kia Picanto by following these simple steps. First, open the rear door …Read all… Posted on 5 May 2026 by ScegliAuto
Kia Picanto (2011-2018 / TA, MK 2)How to Remove the Speaker from a Kia Picanto To remove the speaker from a Kia Picanto, first take off the door panel. Before starting, disconnect the battery terminals in the engine bay. Use a screwdriver …Read all… Posted on 1 April 2026 by ScegliAuto
Kia Picanto (2004-2011 / 2A, MK 1)How to Remove the Driver's Door Panel on a Kia Picanto How to remove the driver's door panel on a Kia Picanto? Follow these steps: before starting the disassembly, disconnect the battery terminals located in the …Read all… Posted on 16 March 2026 by ScegliAuto
Kia Picanto (2004-2011 / 2A, MK 1)How to Remove the Door Panel on a Kia Picanto First, remove all the screws around the panel. Next, remove the screw hidden behind the handle and the one behind the armrest; these last two are easy to find …Read all… Posted on 7 March 2026 by ScegliAuto
Kia Picanto (2004-2011 / 2A, MK 1)Removing the Door Panel for Replacement The tools needed for this operation are: a flathead screwdriver, a Phillips screwdriver, a Torx key, and a spatula. Remove the handle cover and unscrew the …Read all… Posted on 12 February 2026 by ScegliAuto Airbag (1) Speaker (1) Antenna (1) Car stereo (6) Battery (4) Spark plugs (4) Body (4) Key (14) Timing belt (5) Air conditioner (1) Onboard computer (3) Checks and maintenance (12) Throttle body (1) Dashboard (4) Shifter boot (1) Brake rotors (1) Headlight (4) Tail light (3) Fog lights (3) Air filter (5) Cabin air filter (3) Oil filter (2) Parking brake (4) Clutch (14) Light bulb (5) Headlight bulb (19) Tail light bulb (2) Interior dome light bulb (2) (1) Transmission fluid (1) Engine oil (6) Clock (9) Door trim panel (5) Front bumper (2) Rear bumper (2) Brake pads (1) Fuel pump (4) Push button (1) Instrument cluster (3) Radiator (2) Fuse box (20) Door lock (1) Suspension system (1) Side mirror (4) Warning light – error code (2) (10) Tire pressure warning light (11) Service warning light (22) Fuel cap (1) Windshield wipers (1) Thermostat (2) |
How to Connect the Cables to the Battery of the Citroen Xsara Picasso?
In this tutorial, you will see how to connect the cables to the battery of the Citroen Xsara Picasso, useful if you need to recharge it or perform an emergency start. First, ensure the key is not inserted, then open the bonnet and move to the front of the left headlamp. Next, locate the bolt just behind the filter box and connect the positive terminal clamp to it. Now you can connect the negative terminal to any point on the chassis, such as the indicated point. Once the operation is complete, ensure you disconnect the negative first and then the positive. by ScegliAuto More videos
|
For advertising on this site Write to info@scegliauto.com
ScegliAuto is not responsible for any inaccuracy of the data in the lists. To report any inaccuracy or your business (if you own the business in question), please write to info@scegliauto.com
Number of seconds to generate the page: 0.009
(c) ScegliAuto 2026 - info@scegliauto.com - Privacy policy VAT number: IT01247470535 |
