
|
Do it yourself
| |||
| ||||


How to disassemble the rear bumper of a Lada Granta
Model: Lada Granta
MK 1
- Years 2011-2024
To remove the rear bumper of a Lada Granta proceed as follows. Open the tailgate and, moving the carpet covering near the lights, remove the three bolts. Extract the lights by disconnecting the relative cables. Then remove the three screws that secure the rubber mudguard located under the wheel arch, one on the lower part and two on the inside. At this point it is possible to proceed with extracting the eight screws located along the upper and lateral profile of the bumper, as well as the three bolts located underneath, one in the center and two on the sides. Pull the bumper to release it from the joints starting from the part near the mudguard until it is completely removed.
Posted on 27 December 2022 by ScegliAuto
Video tutorial
Related tutorials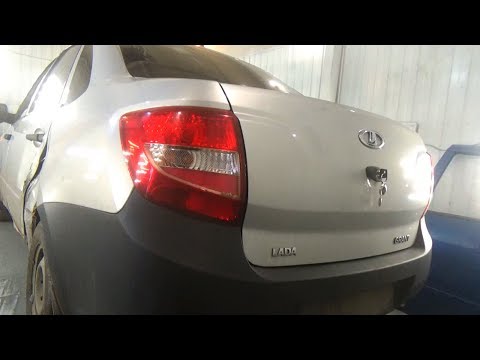
Lada Granta
(2011-2024 /
MK 1)
As we can see in this tutorial, disassembling the rear light on your Lada Granta is an extremely simple and fast operation. Before proceeding, let's …
Lada Granta
(2011-2024 /
MK 1)
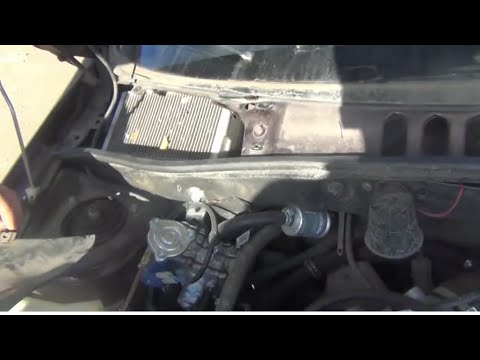
Let's see in this short and simple guide how to disassemble and replace the pollen filter of the Lada Granta. First we open the bonnet and start unsc…
Lada Granta
(2011-2024 /
MK 1)
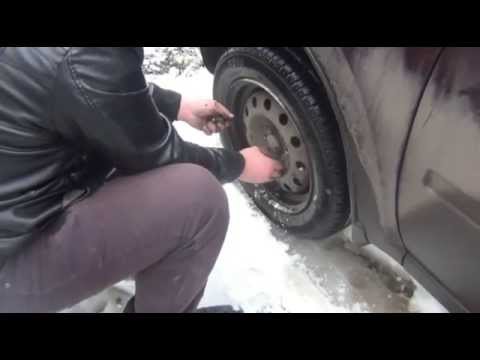
Today we will see, in this video tutorial, how to remove and replace the wheel with the spare wheel of the Lada Granta, following the instructions be…
Other guides you may be interested in
|
How to Remove the Door Panel from a Renault Clio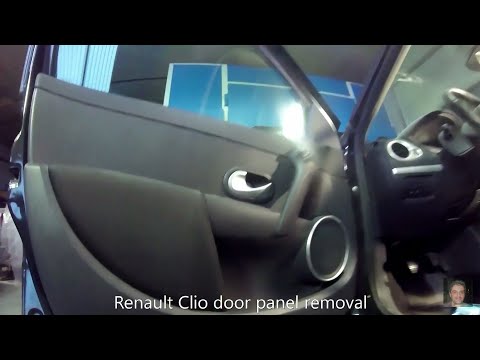
How to remove the panel from a Renault Clio? Don't worry, let's see together in this video how to proceed. Before starting the disassembly, disconnect the battery terminals located in the engine bay. Begin the disassembly: remove the plastic cover of the handle with a lever, then use a screwdriver to unscrew the internal door handle and the screws located there. Once removed, take out the window switch button, unscrew the internal door opening lever. Detach the door panel and disconnect the speaker. Be careful not to lose any of the clips behind the plastic panel you removed earlier. Replace the part and reassemble everything in reverse order. by ScegliAuto More videos
|

|
For advertising on this site Write to info@scegliauto.com
ScegliAuto is not responsible for any inaccuracy of the data in the lists. To report any inaccuracy or your business (if you own the business in question), please write to info@scegliauto.com
Number of seconds to generate the page: 0.055
(c) ScegliAuto 2026 - info@scegliauto.com - Privacy policy VAT number: IT01247470535 |