
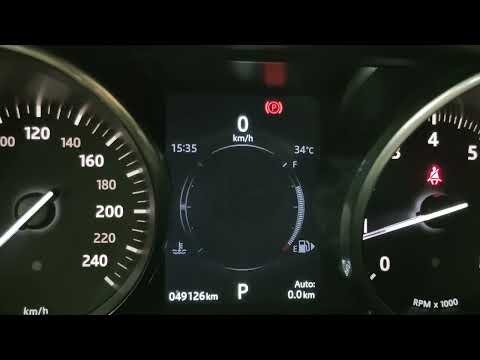
|
Do it yourself
| |||
| ||||


How to do an oil and filter change on Land Rover Evoque
Model: Land Rover Evoque
L538, MK 1
- Years 2011-2018
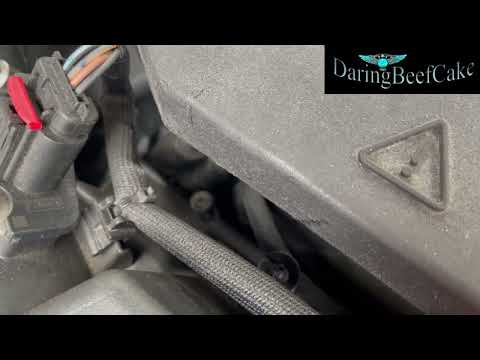
First we have to lift the bonnet and secure it with a special rod, then we have to remove the plastic and then unscrew the oil filter. So once the plastic cover is removed, you have to remove the screws. A socket wrench (65 / 14) must be used to loosen the oil filter. Subsequently, the cap located under the vehicle must be removed; first you have to lift the oil dipstick and unscrew the oil filler cap. (if you work with a hot engine the oil comes out more quickly). After lifting the car and securing it with the appropriate stands; remove the cover under the engine to unscrew the cap of 13. Then put a basin underneath to drain all the oil, while the oil finishes dripping, let's unscrew the oil filter, bringing it almost to complete extraction. After a few minutes we are going to remove the filter altogether. Replace the filter and put the new one in and tighten it slightly to 2.5 NM. Screw the plug under the engine like a normal bolt with a number 13 key. Top up with oil (0w-30) 6.5 Kg. Service done.
Posted on 10 January 2023 by ScegliAuto
Video tutorial
Related tutorials
Land Rover Evoque
(2011-2018 /
L538, MK 1)
To replace the cabin air filter in a Land Rover Evoque, loosen the screws securing the panel located directly under the glove compartment on the pass…
Land Rover Evoque
(2011-2018 /
L538, MK 1)
Today we will discover the steps that will allow us to reset the tire pressure warning light on the Land Rover Range Rover Evoque. First, we get into…
Land Rover Evoque
(2011-2018 /
L538, MK 1)
Periodically replacing the engine air filter of your Land Rover Evoque first series (year 2013) is very important as it prevents the appearance of an…
Other guides you may be interested in
|
Replacing Front Headlamp Bulb on Toyota Auris
In this video tutorial, you will learn how to remove and replace the front headlamp bulb on a second-generation Toyota Auris. First, open and lift the bonnet of your car; then remove the plastic protective cap found at the back of the headlamp and pull out the bulb holder along with the bulb, as shown in the video. At this point, remove the old bulb and replace it with the new one of the correct type (in this case, an HIR2). Finally, insert it in the correct orientation and reassemble everything by turning it and securing it in the front headlamp. by ScegliAuto More videos
|

|
For advertising on this site Write to info@scegliauto.com
ScegliAuto is not responsible for any inaccuracy of the data in the lists. To report any inaccuracy or your business (if you own the business in question), please write to info@scegliauto.com
Number of seconds to generate the page: 0.144
(c) ScegliAuto 2026 - info@scegliauto.com - Privacy policy VAT number: IT01247470535 |