
|
Do it yourself
| |||
| ||||


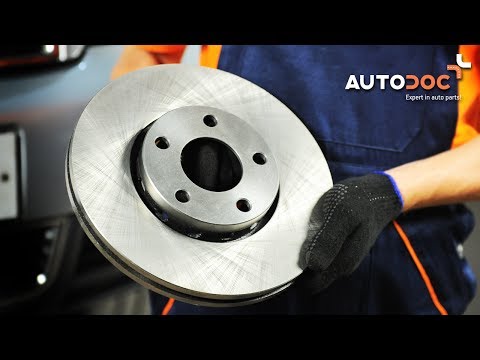
Instructions for Replacing Brake Oil Pipes
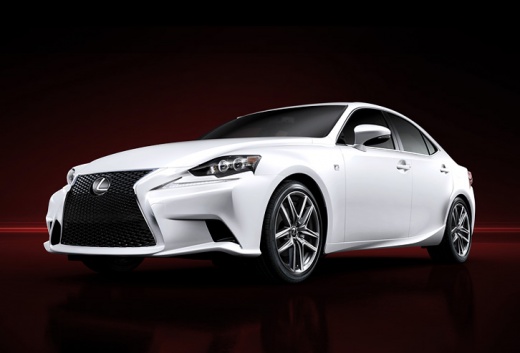
Model: Lexus IS
MK 3
- Years 2013-2024
If you notice signs of deterioration on the brake pipes or even cracks causing oil to leak, it is absolutely essential to replace these pipes. Lift the vehicle on a hydraulic lift or suitable car stands and remove the wheels to access the brake pipes. Unscrew the fittings that secure the rubber pipe to the steel line and the brake caliper, taking care to manage any oil spillage. Install the new pipe, tightening the fittings securely and inserting new seals. After installation, bleed the system using the bleed screw on the caliper, pumping the brake pedal to expel any air along with the old oil, and continue to fill the brake fluid reservoir with clean oil.
Updated on 15 February 2026 by ScegliAuto
This video is currently unavailable
Related tutorials
Lexus IS
(2005-2013 /
MK 2)
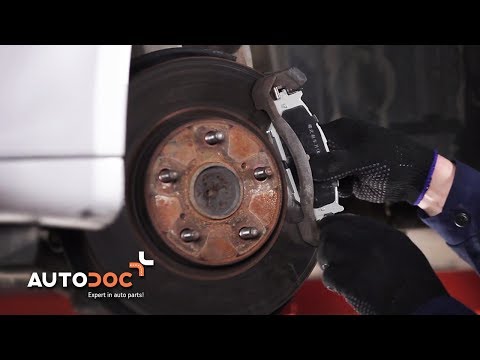
Lift the vehicle and secure it on appropriate axle stands, then remove the front wheel to access the brake caliper. Unscrew the caliper mounting bolt…
Lexus IS
(2005-2013 /
MK 2)
It is good practice to replace the pads when you decide to replace the brake discs. To replace the discs, lift the vehicle, remove the front wheel, a…
Lexus IS
(2005-2013 /
MK 2)
Replacing the brake pads is one of the easiest maintenance tasks you can perform yourself: lift the vehicle on a jack or hydraulic lift if possible; …
Other guides you may be interested in
|
How to Remove the Original Radio on a Ford C Max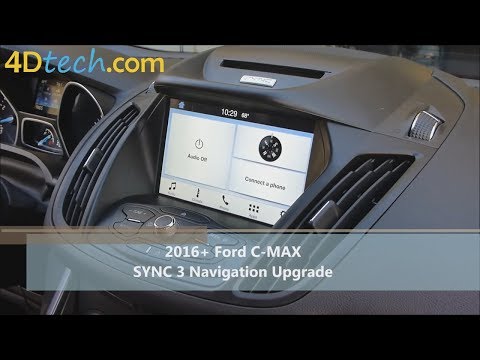
Learn how to remove the original radio on a Ford C Max. First, use a plastic trim tool to remove the upper dashboard cover panel, then, with the aid of a screwdriver, unscrew the securing screws located on the metal tabs at the top sides of the stereo. Now, pull the air vents with the integrated frame away from the dashboard, unscrew the side securing screws of the stereo, disconnect the various power connectors located at the rear of the stereo and the antenna reception cable, and extract the radio from its housing. To reassemble the various disassembled parts, proceed in reverse order. by ScegliAuto More videos
|
|
For advertising on this site Write to info@scegliauto.com
ScegliAuto is not responsible for any inaccuracy of the data in the lists. To report any inaccuracy or your business (if you own the business in question), please write to info@scegliauto.com
Number of seconds to generate the page: 0.084
(c) ScegliAuto 2026 - info@scegliauto.com - Privacy policy VAT number: IT01247470535 |