
|
Do it yourself
| |||
| ||||


Painting the Manufacturer's Badge
Model: Lexus IS
MK 3
- Years 2013-2024
If you want to change the look of your car by replacing the manufacturer's chrome badge and lettering with matte black ones, proceed as follows: 1) mark the position of the rear lettering with masking tape; 2) use a plastic spatula to peel off the rear lettering (it may help to warm it with a hairdryer) and detach the front and rear badges; 3) remove any excess adhesive (both on the bodywork and behind the badges) with silicone remover or acrylic solvent; 4) scuff the surface of the badges with Scotch Brite and clean thoroughly; 5) paint the badges with plastic paint and wait for complete drying; 6) apply double-sided tape behind the badges without exceeding the edges and fix them in position.
Updated on 16 February 2026 by ScegliAuto
This video is currently unavailable
Related tutorials
Lexus IS
(2005-2013 /
MK 2)
To give the engine bay a more attractive appearance, consider painting the plastic covers to match the car or with an aluminium effect. It is essenti…
Lexus IS
(2005-2013 /
MK 2)
If you want to give your car a sportier look, painting the brake calipers is certainly effective, generally opting for red or yellow, like high-perfo…
Lexus IS
(2005-2013 /
MK 2)
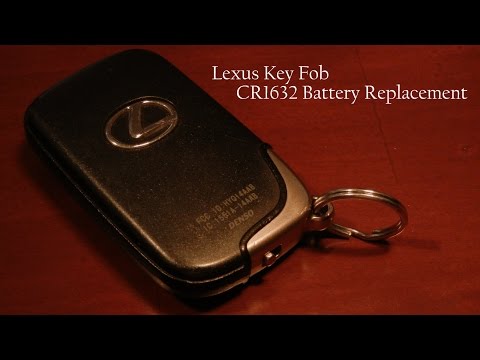
Replacing the battery (CR 1632) of the Lexus remote key is very easy: start by extracting the mechanical key, known as the blade, from the remote its…
Other guides you may be interested in
|
Where is the Fuel Filter Located in a Volvo XC60?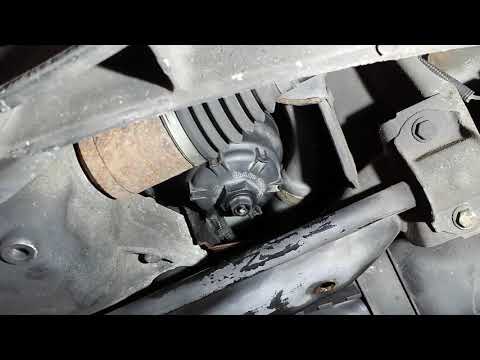
In this video, you will see where the fuel filter is located in a Volvo XC60 and how to proceed if you need to replace it. As shown, the filter is positioned at the lower part of the engine, right between the left half-shaft and the sway bar attachment. To replace the filter, first, go underneath the vehicle, taking all necessary safety precautions. Then, using an 18mm wrench, open the drain valve and allow any water present to escape. Next, unscrew the housing, remove the old filter, insert the replacement along with a new gasket, and reassemble everything. by ScegliAuto More videos
|

|
For advertising on this site Write to info@scegliauto.com
ScegliAuto is not responsible for any inaccuracy of the data in the lists. To report any inaccuracy or your business (if you own the business in question), please write to info@scegliauto.com
Number of seconds to generate the page: 0.062
(c) ScegliAuto 2026 - info@scegliauto.com - Privacy policy VAT number: IT01247470535 |
