
|
Do it yourself
| |||
| ||||


Replacement of the rear taillight of the Mazda 3
Model: Mazda 3
BK, MK 1
- Years 2003-2009
Today we will discover the instructions that will allow us to disassemble and replace the rear tail light and its bulbs of the Mazda 3. First of all, we open the rear hatch of the trunk and start removing the rear plastic cover, accessing the inside of the tail light; then we unscrew the fixing screw and disconnect the electrical connector of the bulbs, removing the tail light, as shown in the video. At this point, if necessary, we replace the faulty bulbs with new ones, of the correct type and with the same attachment; finally, we reassemble the rear tail light!
Posted on 8 April 2025 by ScegliAuto
Video tutorial
Related tutorials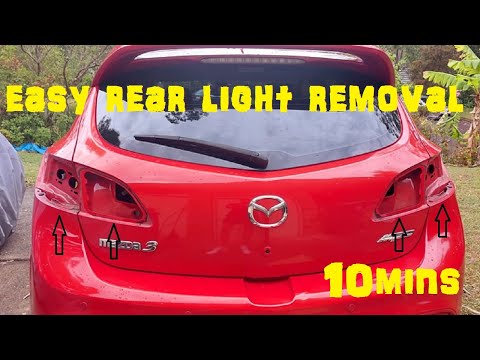
Mazda 3
(2009-2013 /
MK 2, BL)
In this tutorial, see how to remove the rear lights from the Mazda 3, a very simple and quick operation, necessary if you need to replace a bulb or t…
Mazda 3
(2003-2009 /
BK, MK 1)
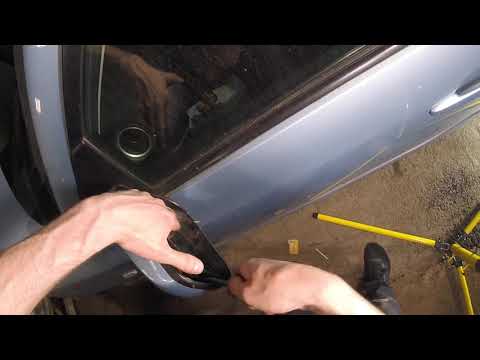
This tutorial shows how to replace the glass of the external rear-view mirror on a Mazda 3, a very simple and quick operation. For this, you will nee…
Mazda 3
(2019-2026 /
MK 4, BP)
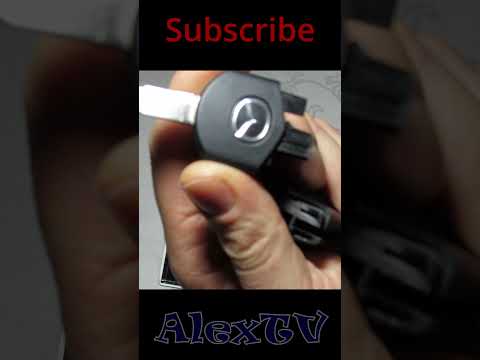
Replacing the battery in the Mazda 3 remote key, as shown in this tutorial, is an extremely simple and quick operation. To do this, you will need a s…
Other guides you may be interested in
|
How to Open the Bonnet on the Lancia Y
To open the bonnet on this vehicle, follow these simple instructions: first, open the driver's door and locate the lever positioned just below the dashboard, marked with an image of the vehicle with the bonnet open. Pull this lever towards you until you hear a "click" indicating the bonnet is released. Next, exit the cabin and stand in front of the bonnet to disengage the safety catch and complete the opening. To do this, slightly lift the bonnet, locate the yellow lever underneath, and pull it to the left to fully release and open the bonnet. by ScegliAuto More videos
|
|
For advertising on this site Write to info@scegliauto.com
ScegliAuto is not responsible for any inaccuracy of the data in the lists. To report any inaccuracy or your business (if you own the business in question), please write to info@scegliauto.com
Number of seconds to generate the page: 0.428
(c) ScegliAuto 2026 - info@scegliauto.com - Privacy policy VAT number: IT01247470535 |
