
|
Do it yourself
| |||
| ||||


|
Shock absorbers should be replaced when they no longer perform their function, regardless of the mileage. It is advisable to replace all four at the same time. To replace them, lift the vehicle and secure it. Remove the wheel and position a jack or hydraulic lift under the spring support and lift it slightly. Unscrew the two retaining bolts of the shock absorber. If the bolts are seized, use a penetrating spray, wait for it to take effect, and apply force on the spanner. Remove the old shock absorber and fit the new one, ensuring it is of the same type. It is advisable to replace the fixing bolts; otherwise, clean the old ones thoroughly and grease them. Use a torque wrench to tighten the bolts. Conduct a road test to verify proper operation.
Updated on 6 February 2026 by ScegliAuto
This video is currently unavailable
Related tutorials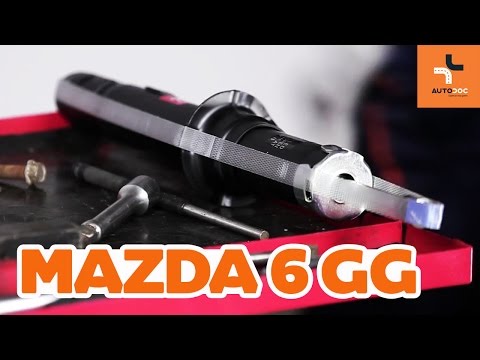
Mazda 6
(2002-2008 /
GG, MK 1)
Shock absorbers are responsible for slowing down the movements of the suspension. If the car has covered many miles, they need to be replaced. They c…
Mazda 6
(2002-2008 /
GG, MK 1)
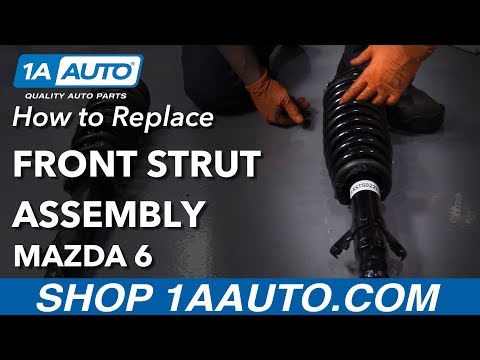
This video illustrates how to remove a front shock absorber from a Mazda. Let's see how to do it carefully. The first step: loosen the wheel nuts, li…
Mazda 6
(2002-2008 /
GG, MK 1)
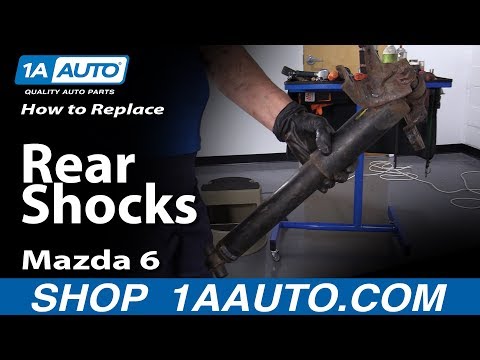
This video illustrates how to dismantle the shock absorbers of a Mazda. Pay close attention to how to do it. The first step: loosen the wheel bolts, …
Other guides you may be interested in
|
How to Check the Oil Level on a Jeep Renegade?
To check the oil level on a Jeep Renegade, you need to open the bonnet to access the components inside the engine bay: on the lower left side of the engine block, you will find the dipstick for checking the level. This should be pulled out and thoroughly cleaned with a cloth: once cleaned, reinsert it back into its tube and pull it out immediately after. This way, you can check that the oil mark is between the minimum and maximum levels; finally, you can place the dipstick back in its tube. by ScegliAuto More videos
|
|
For advertising on this site Write to info@scegliauto.com
ScegliAuto is not responsible for any inaccuracy of the data in the lists. To report any inaccuracy or your business (if you own the business in question), please write to info@scegliauto.com
Number of seconds to generate the page: 0.179
(c) ScegliAuto 2026 - info@scegliauto.com - Privacy policy VAT number: IT01247470535 |
