
|
Do it yourself
| |||
| ||||


Replacing Indicator Light on Mazda 3
Model: Mazda 3
MK 2, BL
- Years 2009-2013
Here’s how to disassemble the indicator light on a Mazda 3. Use a lever between the indicator light and the car's body (without damaging the bodywork or the light), pull the lighting unit out of the panel, and disconnect the power connector behind it. Replace the damaged bulb with a new one (same size and voltage). Reconnect the electrical connector behind the light, then fit it back into its housing (push the transparent plastic of the light with your hands until the tabs lock completely into the bodywork). Test the correct operation of the indicator bulb.
Updated on 8 April 2026 by ScegliAuto
Video tutorial
Related tutorials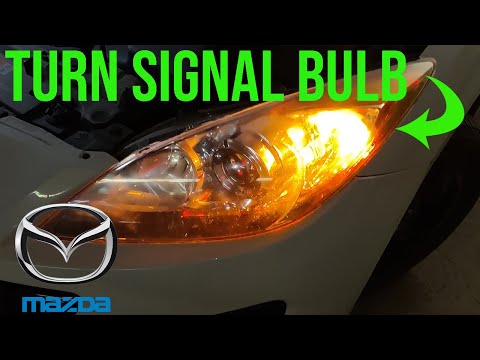
Mazda 3
(2009-2013 /
MK 2, BL)
Today, this guide provides instructions to dismantle and replace the front indicator bulb on a Mazda 3. First, unscrew the fastening screws of the fr…

Mazda 3
(2013-2019 /
MK 3, BN, BM)
Today we will discover the main steps that will allow us to disassemble and replace the front turn signal bulb of the Mazda 3. First, let's move to t…

Mazda 3
(2013-2019 /
MK 3, BN, BM)
In this video, we will see what to do if one of the bulbs in the rear light burns out; we will see how to proceed with the replacement. Open the boot…
Other guides you may be interested in
|
How to Bleed the Clutch on a Renault Clio?
To bleed the clutch on a Renault Clio, open the bonnet to access the components located in the engine bay: here, you will need to undo the screws that secure the battery in its housing, the intake manifold, and the coolant reservoir. This will allow you to locate the pipe through which the brake fluid flows: by inserting the other end of the pipe into a container, you can press the clutch pedal to expel all the fluid until it fills the container. by ScegliAuto More videos
|

|
For advertising on this site Write to info@scegliauto.com
ScegliAuto is not responsible for any inaccuracy of the data in the lists. To report any inaccuracy or your business (if you own the business in question), please write to info@scegliauto.com
Number of seconds to generate the page: 0.075
(c) ScegliAuto 2026 - info@scegliauto.com - Privacy policy VAT number: IT01247470535 |
