
|
Do it yourself
| |||
| ||||


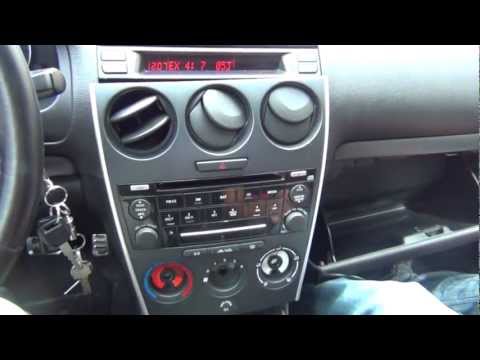
How to Remove the Centre Console
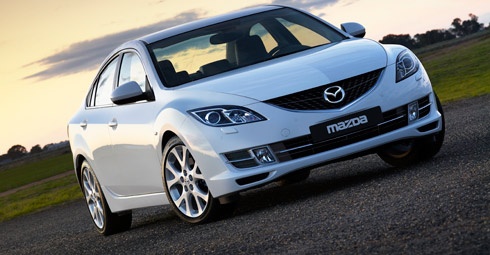
Model: Mazda 6
GH, MK 2
- Years 2008-2012
If you need to carry out repairs or modifications to the stereo and/or the centre console, this guide will assist you in the disassembly process. Start with the compartment next to the handbrake, which is the cup holder. Pull it out firmly as shown in the video. Next, unscrew the gear knob. Disconnect the last part of the console around the gear lever, also removing the electrical connector and the lamp holder at the back. Unscrew the two front screws at the bottom of the console. Open and detach the glove compartment by operating the side lever and then the walls as illustrated in the video. Once the drawer is removed, unscrew the third side screw. At this point, you can also remove the centre console along with the stereo to install any modules for use with an iPhone or other devices.
Updated on 11 February 2026 by ScegliAuto
Video tutorial
Related tutorials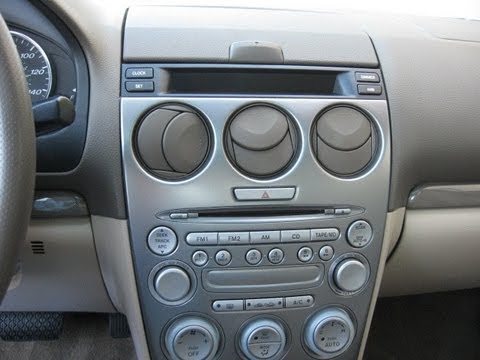
Mazda 6
(2002-2008 /
MK 1, GG)
To remove the original car radio, the first step is to take off the central tunnel cover: position the gear lever in reverse (in drive position), uns…

Mazda 6
(2002-2008 /
MK 1, GG)
In this guide, you will learn how to install a Bluetooth kit in a car. First, detach the plastic cover beneath the steering wheel that is clipped in …
Mazda 6
(2002-2008 /
MK 1, GG)
For this installation, you need a screwdriver and a ratchet spanner with an extension, along with the accessory kit. Start by removing the gear knob …
Other guides you may be interested in
|
How to Install Roof Bars on a Fiat 500X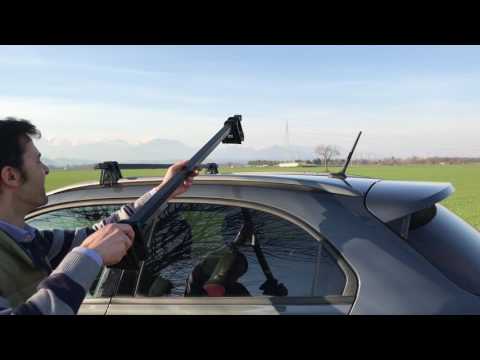
Learn how to equip your car with universal roof bars. Universal roof bars are used on cars with and without roof rails (fixed bars secured to the car roof). Install the roof bar kit as shown in the video with the bars calibrated according to the width of the car. Position the brackets at both ends of the doors on the car's original roof rails. Once the width of the anchoring brackets is adjusted, tighten the bolts with the butterfly nut (if a lock is present) until fully secured to the roof rails. Finally, apply the safety caps on your Fiat. by ScegliAuto More videos
|
|
For advertising on this site Write to info@scegliauto.com
ScegliAuto is not responsible for any inaccuracy of the data in the lists. To report any inaccuracy or your business (if you own the business in question), please write to info@scegliauto.com
Number of seconds to generate the page: 0.050
(c) ScegliAuto 2026 - info@scegliauto.com - Privacy policy VAT number: IT01247470535 |