
|
Do it yourself
| |||
| ||||


Installation of accessory adapter kit for iPhone, iPod and AUX
Model: Mazda 6
GG, MK 1
- Years 2002-2008
For this installation, you need a screwdriver and a ratchet spanner with an extension, along with the accessory kit. Start by removing the gear knob by simply unscrewing it. Remove the centre tunnel by gently lifting it upwards and disconnect the cigarette lighter connector. Remove the screws securing the radio and climate control console located under the knobs that need to be pulled off. Detach the glove compartment by releasing it from the plastic clips at the bottom. Unscrew the nuts holding the radio bracket using the ratchet spanner located inside the tunnel. At this point, lift the entire console out of the tunnel and locate the auxiliary services connector at the back of the radio, then insert the connector from the supplied accessory kit. Connect your phone to the accessory and check all functions offered by the new installation.
Updated on 2 February 2026 by ScegliAuto
Video tutorial
Related tutorials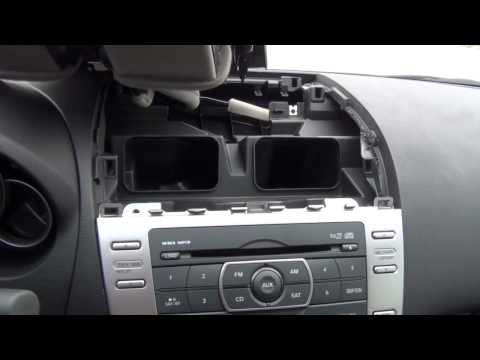
Mazda 6
(2008-2012 /
GH, MK 2)
To install an Aux input, it is necessary to remove the car radio to which the kit's control unit and the corresponding output cable will be connected…

Mazda 6
(2008-2012 /
GH, MK 2)
The video shows how to detach the plastic covers along the centre console, specifically the one near the handbrake and the one near the gear lever: b…
Mazda 6
(2002-2008 /
GG, MK 1)
Adding an AUX output to your car radio means you can connect any device that has a minijack output. This can be useful for listening to music or conn…
Other guides you may be interested in
|
Where is the Fuel Filter Located in a Volvo XC60?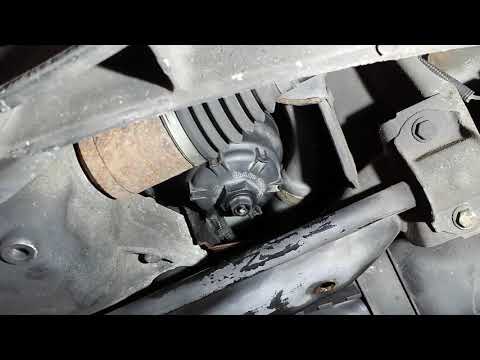
In this video, you will see where the fuel filter is located in a Volvo XC60 and how to proceed if you need to replace it. As shown, the filter is positioned at the lower part of the engine, right between the left half-shaft and the sway bar attachment. To replace the filter, first, go underneath the vehicle, taking all necessary safety precautions. Then, using an 18mm wrench, open the drain valve and allow any water present to escape. Next, unscrew the housing, remove the old filter, insert the replacement along with a new gasket, and reassemble everything. by ScegliAuto More videos
|
|
For advertising on this site Write to info@scegliauto.com
ScegliAuto is not responsible for any inaccuracy of the data in the lists. To report any inaccuracy or your business (if you own the business in question), please write to info@scegliauto.com
Number of seconds to generate the page: 0.418
(c) ScegliAuto 2026 - info@scegliauto.com - Privacy policy VAT number: IT01247470535 |
