
|
Do it yourself
| |||
| ||||


Instructions for Removing the Rear Light
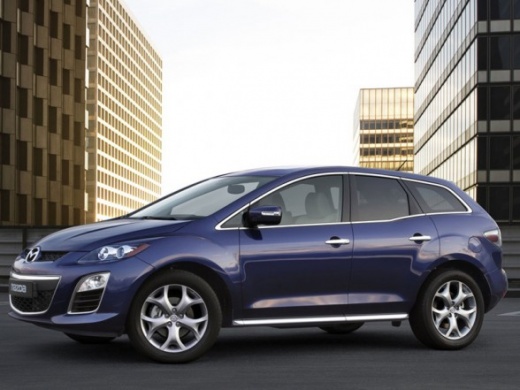
Model: Mazda Cx 7
MK 1
- Years 2006-2012
Removing the rear light on this car model is quite simple: once the rear bonnet is open, locate the cap on the internal trim of the boot, positioned directly opposite the rear light; once the cover is removed, it is easy to access the retaining nuts of the light to unscrew and remove it, also disconnecting the power connector; after removing the retaining nuts, to complete the removal of the rear light, pull it by sliding it backwards to disengage it from the side guide pin.
Updated on 22 February 2026 by ScegliAuto
Video tutorial
Related tutorials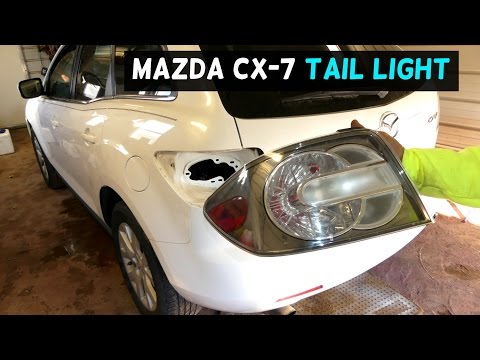
Mazda Cx 7
(2006-2012 /
MK 1)
To remove the rear light, access the boot by opening the tailgate and locate the plastic grille directly behind the light; once the grille is removed…

Mazda Cx 7
(2006-2012 /
MK 1)
In this short and simple guide, we will see how to disassemble and replace the rear light and its bulbs of the Mazda CX-7. First, we open the rear ha…
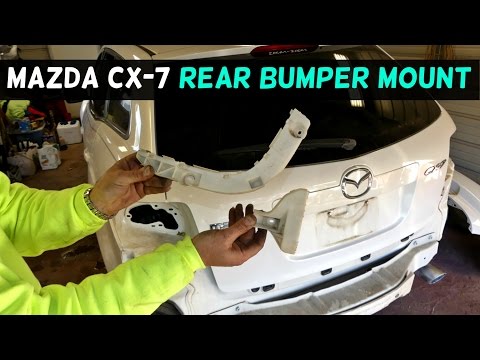
Mazda Cx 7
(2006-2012 /
MK 1)
Removing the rear bumper is quite simple, but you must first remove other elements such as the rear lights to access some of the bumper's fastening c…
Other guides you may be interested in
|
How to Replace the Window Regulator on the BMW X3
Replacing the window regulator mechanism requires removing the door panel and the aluminum underpanel to access the mechanism itself. Remove the motor and loosen the glass retaining clips to complete the removal of the window regulator. Attach the motor to the new mechanism and insert the assembled unit back into the door, securing it with the appropriate nuts. Then, insert the glass and tighten the clips, completing the installation by connecting the motor's power connector and performing a functionality check before reassembling all other components. by ScegliAuto More videos
|
|
For advertising on this site Write to info@scegliauto.com
ScegliAuto is not responsible for any inaccuracy of the data in the lists. To report any inaccuracy or your business (if you own the business in question), please write to info@scegliauto.com
Number of seconds to generate the page: 0.080
(c) ScegliAuto 2026 - info@scegliauto.com - Privacy policy VAT number: IT01247470535 |