
|
Do it yourself
| |||
| ||||


How to Remove the Front Headlamp on a Mazda MX-5?
Model: Mazda Mx 5
MK 2, NB
- Years:
1998, 1999, 2000, 2001, 2002, 2003, 2004, 2005
Video tutorial
To remove the front headlamp on a Mazda MX-5, follow a procedure that involves removing the bumper before accessing the headlamp. Start by unscrewing the fixing screws of the bumper located underneath the vehicle and inside the wheel arches. Next, open the bonnet and locate the upper fixing screws of the bumper, usually positioned near the top edge of the engine bay. Once all screws are removed, carefully detach the bumper from the clips holding it in place. After removing the bumper, you will have access to the front headlamp. At this point, locate the fixing screws of the headlamp on the car's frame and unscrew them with a suitable screwdriver or spanner. Once the screws are removed, gently extract the front headlamp from its housing. Be careful of the electrical wiring connected to the headlamp during removal, and you will have completed the disassembly.
Updated on 25 September 2026 by ScegliAuto
Related tutorials
Mazda Mx 5
(1989-1997 /
MK 1)
Due to aging and weather conditions, headlamps tend to yellow and need to be replaced. To replace the front headlamp, open the bonnet and position th…

Mazda Mx 5
(2015-2024 /
MK 4, ND)
In this video, we can see where the fuse boxes of the Mazda MX-5 are located and their respective diagrams, useful in case we need to check the fuses…

Mazda Mx 5
(2005-2015 /
MK 3, NC)
Today we will discover the instructions that will allow us to disassemble and replace the headlight bulb of the Mazda MX-5. First, we will remove the…
Other guides you may be interested in
|
How to Reset the EDC Light on a Mercedes Sprinter?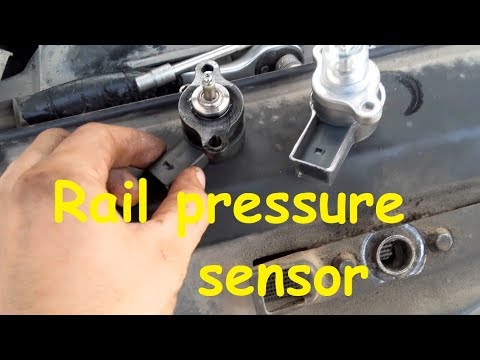
When the EDC light appears on the instrument cluster of a Mercedes Sprinter, it indicates a generic malfunction in the vehicle's injection system. To identify the source of the problem, a diagnosis must be performed at a workshop. This will help identify the damaged component, which will need to be replaced or repaired. Once the issue has been physically addressed, connect a diagnostic tool to the vehicle's OBD port located under the steering column. This will allow you to clear the errors in the ECU, turning off the EDC light. by ScegliAuto More videos
|
|
For advertising on this site Write to info@scegliauto.com
ScegliAuto is not responsible for any inaccuracy of the data in the lists. To report any inaccuracy or your business (if you own the business in question), please write to info@scegliauto.com
Number of seconds to generate the page: 0.022
(c) ScegliAuto 2026 - info@scegliauto.com - Privacy policy VAT number: IT01247470535 |
