Do it yourself
Frequently asked questions about cars and motorcycles

Mercedes Classe C - Shocks

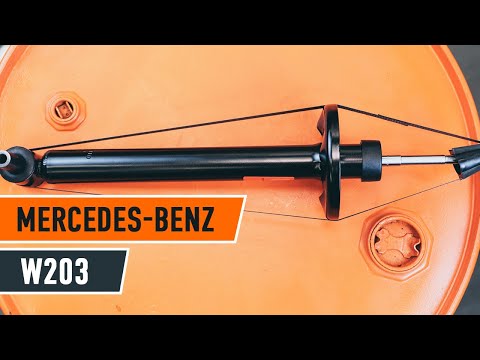
Shocks Mercedes Classe C (2000-2007 / w 203)

Mercedes Classe C (2000-2007 / W203)
Remove a Front Shock Absorber from a Mercedes C-Class

Remove a front shock absorber from a Mercedes C-Class. Follow these steps carefully: Loosen the wheel nuts, lift the car on a column lift, and remove the …Read all…
Posted on 15 March 2026 by ScegliAuto
Mercedes Classe C (1993-2000 / W202)
Front Shock Absorber Replacement

This video describes how to replace the front shock absorbers. First, lift the car on the lift and locate the bolts that hold the shock absorber; one is easily …Read all…
Posted on 14 February 2026 by ScegliAuto

Shocks Mercedes Classe C (1993-2000 / w 202)

Mercedes Classe C (2000-2007 / W203)
Remove a Front Shock Absorber from a Mercedes C-Class

Remove a front shock absorber from a Mercedes C-Class. Follow these steps carefully: Loosen the wheel nuts, lift the car on a column lift, and remove the …Read all…
Posted on 15 March 2026 by ScegliAuto
Mercedes Classe C (1993-2000 / W202)
Front Shock Absorber Replacement

This video describes how to replace the front shock absorbers. First, lift the car on the lift and locate the bolts that hold the shock absorber; one is easily …Read all…
Posted on 14 February 2026 by ScegliAuto

Cigarette lighter (3) Airbag (25) Alternator (6) Speaker (6) Shocks (2) Antenna (2) Air conditioning (5) Car stereo (42) Anti-roll bar (3) Roof rack bars (3) Battery (48) Ignition coil (2) Air vents (4) Control arm (7) Grille (2) Transmission (24) Spark plugs (9) Glow plugs (6) Convertible top (1) Body (21) Glove compartment (5) Control unit (7) Key (68) Timing belt (23) V-belt (8) Air conditioner (22) A/C controls (6) Onboard computer (18) Checks and maintenance (134) Oil pan (1) Throttle body (4) Dashboard (22) Shifter boot (1) Bearing (1) MAF sensor (2) Brake rotors (4) Rear bench seat (1) Side marker light (3) Headlight (27) Tail light (4) Fog lights (10) Air filter (22) Cabin air filter (37) Fuel filter (3) Diesel fuel filter (10) Oil filter (3) Parking brake (7) Grille (6) Fuel injectors (4) Window switch (5) Accessory kit (10) Xenon headlight kit (1) Light bulb (17) Side marker bulb (8) Headlight bulb (43) Tail light bulb (10) Interior dome light bulb (13) Antifreeze coolant (17) Instrument panel light (3) License plate light (11) (1) Rear window (1) Handle (19) Exhaust muffler (3) Trim cover (2) Engine (9) Power window motor (3) Starter motor (15) Electric power steering motor (1) Transmission fluid (3) Engine oil (25) Clock (76) Door trim panel (48) Front bumper (7) Rear bumper (6) Brake pads (15) Tires (3) Shift knob (22) Pump (16) Fuel pump (17) Car door (7) Push button (5) Power window switch (10) Instrument cluster (21) Radiator (3) Heater core (2) Wheel (3) Fuse box (150) Seat (28) Crankshaft position sensor (3) Door lock (12) Brake system (1) Suspension system (4) Side mirror (31) Rearview mirror (5) AdBlue warning light (20) Warning light – error code (118) (43) Tire pressure warning light (17) Service warning light (320) Manufacturer emblem (6) Engine mount (1) Fuel cap (8) Windshield wipers (23) Thermostat (7) Drivetrain (4) Center console tunnel (14) Windshield washer nozzle (1) EGR valve (11) Blower motor (8) Side window (3) Steering wheel (13)

How to Adjust the Handbrake on a BMW 1 Series?

To adjust the handbrake on a BMW 1 Series, use a tool to pry off the leather cover that wraps around the base of the handbrake lever. Once this cover is removed, you will be able to locate the spring that regulates the handbrake tension. At this point, adjust the nut located at the base of the spring: tightening the nut will make the handbrake firmer and reduce the lever's travel. Conversely, loosening the nut will decrease the handbrake's firmness and increase the lever's travel.

Watch the video!


by ScegliAuto

More videos