
|
Do it yourself
| |||
| ||||


Mercedes Classe C - Brake rotorsBrake Rotors Mercedes Classe C (2007-2013 / w 204)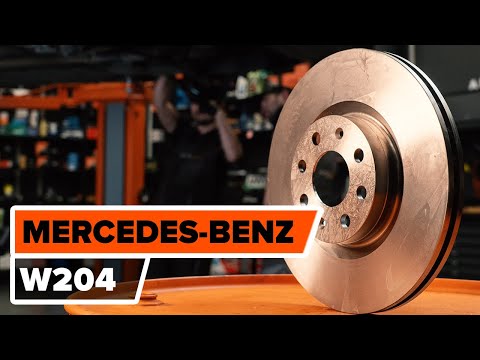 Mercedes Classe C (2007-2013 / W204)
Replacing Front Brake Discs and Pads To replace the front brake discs and pads, start by lifting the vehicle on a lift and removing the front wheel. Next, remove the caliper mounting bolts, detach …Read all… Posted on 6 March 2026 by ScegliAuto 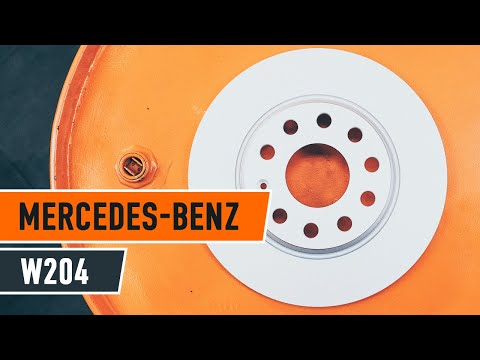 Mercedes Classe C (2007-2013 / W204)
Replacing Rear Brake Rotors and Pads Lift the vehicle on a lift and remove the rear wheel. Remove the retaining spring for the brake pads and the caps from the caliper mounting pins to take off …Read all… Posted on 28 February 2026 by ScegliAuto  Mercedes Classe C (1983-1993 / )
Replacing Auto Brake Rotors Brake rotors are a crucial part of vehicle safety and, of course, for the people on board. This component of the vehicle must be replaced immediately when …Read all… Posted on 24 February 2026 by ScegliAuto 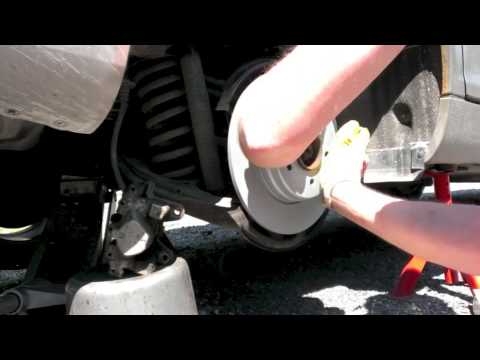 Mercedes Classe C (2000-2007 / W203)
Replacing Rear Brake Discs and Pads Lift the vehicle on suitable jack stands and remove the rear wheel; use a punch to extract the retaining pin for the pads, slightly retract the piston, and …Read all… Posted on 16 February 2026 by ScegliAuto Brake Rotors Mercedes Classe C (2000-2007 / w 203)
Mercedes Classe C (2007-2013 / W204)Replacing Front Brake Discs and Pads To replace the front brake discs and pads, start by lifting the vehicle on a lift and removing the front wheel. Next, remove the caliper mounting bolts, detach …Read all… Posted on 6 March 2026 by ScegliAuto
Mercedes Classe C (2007-2013 / W204)Replacing Rear Brake Rotors and Pads Lift the vehicle on a lift and remove the rear wheel. Remove the retaining spring for the brake pads and the caps from the caliper mounting pins to take off …Read all… Posted on 28 February 2026 by ScegliAuto
Mercedes Classe C (1983-1993 / )Replacing Auto Brake Rotors Brake rotors are a crucial part of vehicle safety and, of course, for the people on board. This component of the vehicle must be replaced immediately when …Read all… Posted on 24 February 2026 by ScegliAuto
Mercedes Classe C (2000-2007 / W203)Replacing Rear Brake Discs and Pads Lift the vehicle on suitable jack stands and remove the rear wheel; use a punch to extract the retaining pin for the pads, slightly retract the piston, and …Read all… Posted on 16 February 2026 by ScegliAuto Brake Rotors Mercedes Classe C (1983-1993 / )
Mercedes Classe C (2007-2013 / W204)Replacing Front Brake Discs and Pads To replace the front brake discs and pads, start by lifting the vehicle on a lift and removing the front wheel. Next, remove the caliper mounting bolts, detach …Read all… Posted on 6 March 2026 by ScegliAuto
Mercedes Classe C (2007-2013 / W204)Replacing Rear Brake Rotors and Pads Lift the vehicle on a lift and remove the rear wheel. Remove the retaining spring for the brake pads and the caps from the caliper mounting pins to take off …Read all… Posted on 28 February 2026 by ScegliAuto
Mercedes Classe C (1983-1993 / )Replacing Auto Brake Rotors Brake rotors are a crucial part of vehicle safety and, of course, for the people on board. This component of the vehicle must be replaced immediately when …Read all… Posted on 24 February 2026 by ScegliAuto
Mercedes Classe C (2000-2007 / W203)Replacing Rear Brake Discs and Pads Lift the vehicle on suitable jack stands and remove the rear wheel; use a punch to extract the retaining pin for the pads, slightly retract the piston, and …Read all… Posted on 16 February 2026 by ScegliAuto Cigarette lighter (3) Airbag (25) Alternator (6) Speaker (6) Shocks (2) Antenna (2) Air conditioning (5) Car stereo (42) Anti-roll bar (3) Roof rack bars (3) Battery (48) Ignition coil (2) Air vents (4) Control arm (7) Grille (2) Transmission (24) Spark plugs (9) Glow plugs (6) Convertible top (1) Body (21) Glove compartment (5) Control unit (7) Key (68) Timing belt (23) V-belt (8) Air conditioner (22) A/C controls (6) Onboard computer (18) Checks and maintenance (134) Oil pan (1) Throttle body (4) Dashboard (22) Shifter boot (1) Bearing (1) MAF sensor (2) Brake rotors (4) Rear bench seat (1) Side marker light (3) Headlight (27) Tail light (4) Fog lights (10) Air filter (22) Cabin air filter (37) Fuel filter (3) Diesel fuel filter (10) Oil filter (3) Parking brake (7) Grille (6) Fuel injectors (4) Window switch (5) Accessory kit (10) Xenon headlight kit (1) Light bulb (17) Side marker bulb (8) Headlight bulb (43) Tail light bulb (10) Interior dome light bulb (13) Antifreeze coolant (17) Instrument panel light (3) License plate light (11) (1) Rear window (1) Handle (19) Exhaust muffler (3) Trim cover (2) Engine (9) Power window motor (3) Starter motor (15) Electric power steering motor (1) Transmission fluid (3) Engine oil (25) Clock (76) Door trim panel (48) Front bumper (7) Rear bumper (6) Brake pads (15) Tires (3) Shift knob (22) Pump (16) Fuel pump (17) Car door (7) Push button (5) Power window switch (10) Instrument cluster (21) Radiator (3) Heater core (2) Wheel (3) Fuse box (150) Seat (28) Crankshaft position sensor (3) Door lock (12) Brake system (1) Suspension system (4) Side mirror (31) Rearview mirror (5) AdBlue warning light (20) Warning light – error code (118) (43) Tire pressure warning light (17) Service warning light (320) Manufacturer emblem (6) Engine mount (1) Fuel cap (8) Windshield wipers (23) Thermostat (7) Drivetrain (4) Center console tunnel (14) Windshield washer nozzle (1) EGR valve (11) Blower motor (8) Side window (3) Steering wheel (13) |
How to Activate Bluetooth on the BMW 1 Series?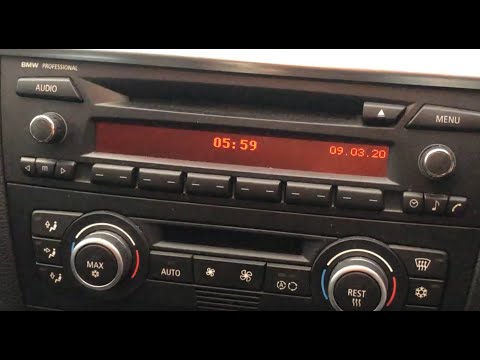
To activate Bluetooth on the BMW 1 Series, turn on the ignition so you can press the MENU button on the central control panel. This will allow you to select the "TEL" option to make the device visible. Then, connect to the radio using your mobile phone, selecting the device called "BMW" followed by a five-digit code. This code must be entered using the radio controls, confirming with OK. After entering and confirming, you will notice that the pairing between the devices has occurred. by ScegliAuto More videos
|
|
For advertising on this site Write to info@scegliauto.com
ScegliAuto is not responsible for any inaccuracy of the data in the lists. To report any inaccuracy or your business (if you own the business in question), please write to info@scegliauto.com
Number of seconds to generate the page: 0.010
(c) ScegliAuto 2026 - info@scegliauto.com - Privacy policy VAT number: IT01247470535 |
