
|
Do it yourself
| |||
| ||||


Replacing the Rear Shock Absorber
Model: Mercedes Classe E
W124
- Years:
1984, 1985, 1986, 1987, 1988, 1989, 1990, 1991, 1992, 1993, 1994, 1995
Video tutorial
Lift the vehicle at the wheel where the repair will be made until the tire slightly lifts off the ground: it is not necessary to remove the wheel (for safety, apply a proper jack stand). As the first step, open the rear hood and remove the inner side cover until you can see the mounting pin of the shock absorber: lock the rod, unscrew the mounting nuts, and remove the bushing. Now go underneath the vehicle: move the cover of the rear suspension and unscrew the mounting pin of the shock absorber from the control arm. Then retract the piston of the shock absorber and remove it from its seat. Next, install the new shock absorber by proceeding in reverse: secure the lower part to the control arm by reattaching the cover, insert the rod into the upper seat, apply the bushing, the washer, and tighten the mounting nut (locking the rod) and the lock nut. Reinstall the inner cover.
Updated on 3 February 2026 by ScegliAuto
Related tutorials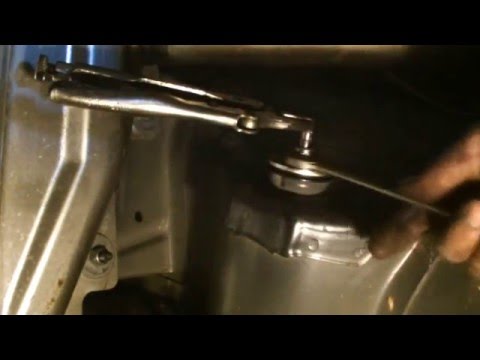
Mercedes Classe E
(1995-2002 /
W210)
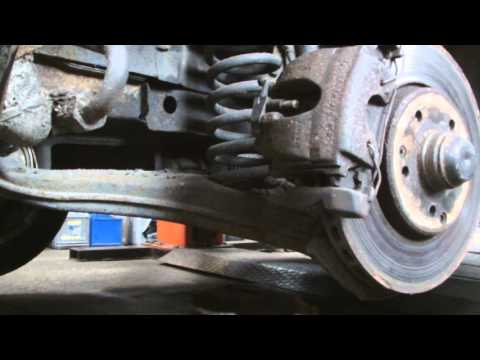
.. Replacing the rear shock absorber is extremely simple since the spring is not integrated into the shock.. …
Mercedes Classe E
(1995-2002 /
W210)
First, after positioning the car on a lift or jack stands, loosen the bolt that secures the shock absorber to the hub, which is the lower end of the …

Mercedes Classe E
(2009-2016 /
W212)
The first fuse box of the Mercedes E-Class is located in the trunk, on the right side (looking at the vehicle from the rear), just behind the lid, in…
Other guides you may be interested in
|
How to Open the Bonnet on the Mitsubishi L200?
In this tutorial, you will see how to open the bonnet on the Mitsubishi L200, a very simple operation that follows the standard procedure. First, open the vehicle and go to the driver's side, then locate the lever at the lower outer area, just in front of the pedals, and pull it. Next, position yourself in front of the bonnet, locate the second lever above the Mitsubishi logo, and push it to the right, releasing the latch. At this point, you can fully lift the bonnet and secure it with the prop rod. by ScegliAuto More videos
|
|
For advertising on this site Write to info@scegliauto.com
ScegliAuto is not responsible for any inaccuracy of the data in the lists. To report any inaccuracy or your business (if you own the business in question), please write to info@scegliauto.com
Number of seconds to generate the page: 0.046
(c) ScegliAuto 2026 - info@scegliauto.com - Privacy policy VAT number: IT01247470535 |
