
|
Do it yourself
| |||
| ||||


Demonstration of Tyre Rotation
Model: Mercedes Classe M
W163
- Years:
1997, 1998, 1999, 2000, 2001, 2002, 2003, 2004, 2005
Video tutorial
If you drive many miles with your car, you will know that it is advisable to rotate the tyres at some point for even wear. Here is a video demonstrating how to rotate the tyres. First, loosen the nuts. Then lift the car and both wheels on one side. Unscrew and remove the wheels. Take this opportunity to briefly inspect the brakes and shock absorbers. Now, simply move the front wheel to the rear axle and vice versa. Refit the wheels, tightening the wheel nuts in a star pattern, that is, tighten one above and then the one directly opposite. For greater accuracy, at the end, you should tighten the nuts with the appropriate wrench according to the torque value specified in the manual.
Updated on 10 February 2026 by ScegliAuto
Related tutorials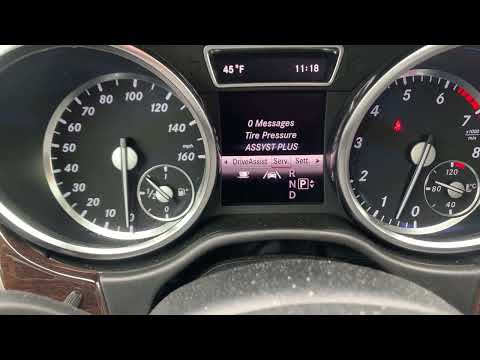
Mercedes Classe M
(2011-2018 /
W166)
In this short video, you will discover the instructions to reset the tyre pressure light and calibrate the TPMS sensor on a Mercedes M-Class. Before …

Mercedes Classe M
(2011-2018 /
W166)
In this article, you will learn how to reset the tyre pressure warning light on a Mercedes ML if it remains illuminated even when all four tyres are …

Mercedes Classe M
(2011-2018 /
W166)
To reset the tyre warning light on a Mercedes-Benz M-Class, start by turning on the ignition without starting the engine by pressing the ignition but…
Other guides you may be interested in |
How to Remove the Rear Seat of a Hyundai Tucson?
To remove the rear seat of a Hyundai Tucson, follow these steps. Start by moving the front seats to their most forward position to gain space. Next, locate the release lever on the underside of the rear seat, near the floor. Press this lever down while pulling the seat upwards to unlock it from the anchor pins. Once unlocked, tilt the seat upwards and forwards to remove it from its position. Repeat this process for both sides of the rear seat. Be careful of any electrical cables or components that may be connected to the seat during removal. Once the rear seat is removed, the disassembly is complete. by ScegliAuto More videos
|
|
For advertising on this site Write to info@scegliauto.com
ScegliAuto is not responsible for any inaccuracy of the data in the lists. To report any inaccuracy or your business (if you own the business in question), please write to info@scegliauto.com
Number of seconds to generate the page: 0.016
(c) ScegliAuto 2026 - info@scegliauto.com - Privacy policy VAT number: IT01247470535 |
