
|
Do it yourself
| |||
| ||||



How to replace the monitor in a Mercedes A-Class
Model: Mercedes Classe A
W176
- Years:
2012, 2013, 2014, 2015, 2016, 2017, 2018
This video is currently unavailable
Let's see how to replace the screen in a Mercedes A-Class with a larger, more modern one. The YouTuber bought a used one on eBay; even searching for new ones, we found prices ranging widely: from a few dozen dollars to over a thousand, so we can't really advise you. It depends on preferences and availability. Here's how to do the job. Lift the tabs on the back of the screen to be replaced and uncover two 20 mm Torx screws. At this point, pull it up, and it comes off. Disconnect the electrical connectors and remove it. Reinstall the new one by connecting the electrical connectors. First, do a test to see if it works. You can then reinstall and secure it by mounting it from top to bottom. Insert the two screws and close the tabs. Job done.
Updated on 7 August 2026 by ScegliAuto
Related tutorials
Mercedes Classe A
(2004-2012 /
W169)
.. you begin, open the hood of your Mercedes A-Class. Start by removing the exhaust manifold by loosening and taking out the mounting bolts. Next, detach.. …

Mercedes Classe A
(1997-2004 /
W168)
.. to replace the serpentine belt on the Mercedes A-Class W168. This procedure is similar for A-Class (W169), B-Class (W245), and Vaneo (W414). However,.. …
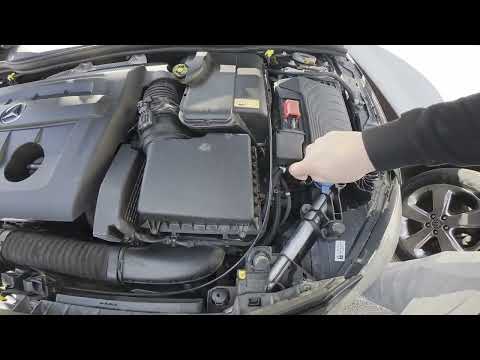
Mercedes Classe A
(2012-2018 /
W176)
.. To locate the fuse box of your Mercedes A-Class W176, you only need a few seconds. All you have to do is read the instructions described in the.. …
Other guides you may be interested in |
How to Remove the Rear Seat of a Hyundai Tucson?
To remove the rear seat of a Hyundai Tucson, follow these steps. Start by moving the front seats to their most forward position to gain space. Next, locate the release lever on the underside of the rear seat, near the floor. Press this lever down while pulling the seat upwards to unlock it from the anchor pins. Once unlocked, tilt the seat upwards and forwards to remove it from its position. Repeat this process for both sides of the rear seat. Be careful of any electrical cables or components that may be connected to the seat during removal. Once the rear seat is removed, the disassembly is complete. by ScegliAuto More videos
|
|
For advertising on this site Write to info@scegliauto.com
ScegliAuto is not responsible for any inaccuracy of the data in the lists. To report any inaccuracy or your business (if you own the business in question), please write to info@scegliauto.com
Number of seconds to generate the page: 0.013
(c) ScegliAuto 2026 - info@scegliauto.com - Privacy policy VAT number: IT01247470535 |
