
|
Do it yourself
| |||
| ||||


Replacing the Front Headlight Bulb
Model: Mercedes Classe E
W211
- Years 2002-2009
The headlight bulb of your car may burn out. In that case, you will need to replace it. The following guide shows you how to do it yourself without necessarily relying on the expensive help of an electrician. You will need a new bulb and a screwdriver. Each bulb has its own installation procedure. Once you have the new bulb, proceed to replace it. After opening the hood and removing the non-functioning bulb, you will notice two screws and a tab. Unscrew them and pull the tab so that the headlight protrudes slightly, giving you some space to replace the bulb. Next, unscrew the cap connected to the socket and the bulb itself, disconnect it, and replace it with the new, functioning one.
Updated on 19 February 2026 by ScegliAuto
Video tutorial
Related tutorials
Mercedes Classe E
(2002-2009 /
W211)
Today we will explain how to replace the headlight bulb on the right front headlight of a Mercedes E-Class model W 211. To replace the bulb, we need …

Mercedes Classe E
(2009-2016 /
W212)
If you want to find out how to replace the headlight bulb of your Mercedes E220, all you have to do is carefully read the following guide and follow …
Mercedes Classe E
(2002-2009 /
W211)
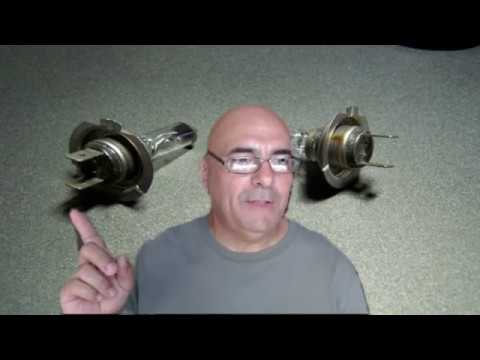
In this video, learn how to remove and replace the original front headlight bulb on a Mercedes E-Class W211 by following these simple steps. First, o…
Other guides you may be interested in
|
How to Remove the Front Bumper of the Citroën C4 Picasso?
To remove the front bumper of the Citroën C4 Picasso, you need to take out all the rivets and screws that secure the piece to its housing: these screws are located inside the wheel arches of the front wheels and at the central upper part of the bumper itself. Once all these fastening elements have been removed, you can detach the bumper from its seat by disconnecting the connectors inside and then insert the new replacement part. The new part can then be secured and connected properly, ensuring it is correctly fixed in place. by ScegliAuto More videos
|
|
For advertising on this site Write to info@scegliauto.com
ScegliAuto is not responsible for any inaccuracy of the data in the lists. To report any inaccuracy or your business (if you own the business in question), please write to info@scegliauto.com
Number of seconds to generate the page: 0.240
(c) ScegliAuto 2026 - info@scegliauto.com - Privacy policy VAT number: IT01247470535 |
