
|
Do it yourself
| |||
| ||||


How to replace the front headlight bulbs of the Mini Cooper.
Model: Mini Mini
R56, R55, R57
- Years 2007-2014
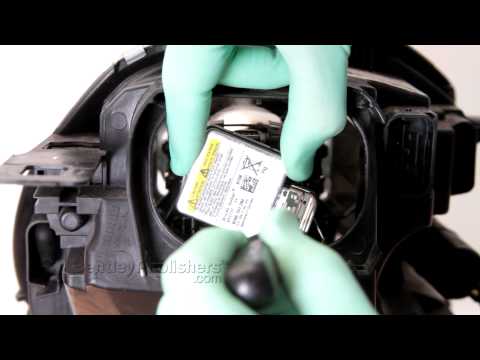
Today we will explain how to independently replace the front headlight bulbs of the Mini Cooper model 3. To replace the bulbs, we need to open the front hood and remove the cover of the ceiling light to disconnect the connector and remove the worn-out bulb. We insert the new bulb and reconnect the connector to close the ceiling light cover. For the replacement of the side indicator bulb, we follow the same procedure as for the daytime running light bulbs. To remove the fog light bulbs, we need to remove the plastic cover of the headlight using a trim removal tool that won't damage the bodywork. We disconnect the connector and remove the bulb. We insert the new one and reconnect the connector to reassemble the headlight and the cover.
Posted on 23 November 2025 by ScegliAuto
Video tutorial
Related tutorials
Mini
(2001-2007 /
R53, R52, R50)
In this tutorial, you will see how to replace the headlight bulbs in a Mini Cooper, a very simple and quick operation. First, ensure that the key is …

Mini
(2007-2014 /
R56, R55, R57)
In this tutorial, you will see how to replace the front fog light bulbs in the Mini Cooper R56, an extremely simple and quick operation. Before proce…
Mini
(2007-2014 /
R56, R55, R57)
As seen in this tutorial, replacing the front headlight bulbs in the Mini Cooper is an extremely simple and quick operation. Before proceeding, ensur…
Other guides you may be interested in
|
How to Replace the Remote Battery for the Volvo XC40?
In this tutorial, you will see how to replace the battery in the remote for the Volvo XC40, a very simple and quick operation. For this, you will need a replacement battery of type CR2032 and possibly a small flathead screwdriver. First, remove the front cover by pressing the button on the metal ring, then locate the second button, press it as well, and remove the opposite cover. Next, open the circular cap, take out the old battery, and insert the new one in the opposite direction. Finally, reassemble everything. by ScegliAuto More videos
|

|
For advertising on this site Write to info@scegliauto.com
ScegliAuto is not responsible for any inaccuracy of the data in the lists. To report any inaccuracy or your business (if you own the business in question), please write to info@scegliauto.com
Number of seconds to generate the page: 0.348
(c) ScegliAuto 2026 - info@scegliauto.com - Privacy policy VAT number: IT01247470535 |
