
|
Do it yourself
| |||
| ||||


How to remove the brake light bulb of a Mini Countryman
Model: Mini Mini
Countryman1, R60
- Years 2010-2016
Before we are able to begin, we will have to open the tailgate of our Mini Countryman. Let's start by disengaging and removing the internal side cover of the luggage compartment, and then unhook the clips that secure the bulb holder to the rear light. After that, we will have to extract the lamp holder from its housing, thus reaching the burned out bulb. At this point, we will have to go to disengage it and remove it from the headlight bulb holder of our Mini Countryman. When we have removed the burnt out bulb, we will have successfully completed its disassembly.
Posted on 20 February 2022 by ScegliAuto
Video tutorial
Related tutorials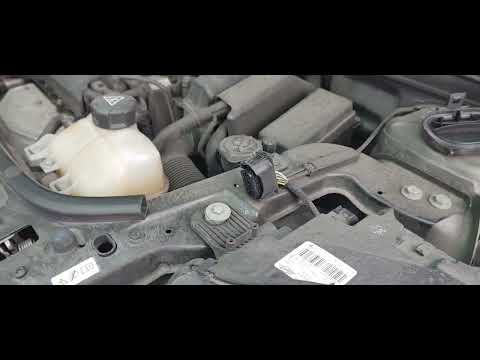
Mini
(2010-2016 /
Countryman1, R60)
To replace the left front headlight bulb of the 2012 Mini Countryman, follow these steps: - open the front hood; - remove the cover of the light fixt…

Mini
(2010-2016 /
Countryman1, R60)
To replace the license plate light bulb on a Mini Countryman, follow these steps clearly shown in the video. Open the trunk hood: use a screwdriver t…

Mini
(2017-2023 /
Countryman2, F60)
Below we will see the instructions that will allow us to disassemble and replace the rear light of the Mini Countryman. First, we open the rear hatch…
Other guides you may be interested in
|
How to Remove the Starter Motor on a Ford Focus
Open the front bonnet and secure it; disconnect the starter motor power terminals using pliers or a screwdriver, depending on the pressure of the tabs. Use a socket spanner to undo the bolts securing the starter motor and remove it from the engine bay (disconnect the various wiring). Finally, fit the new starter motor by connecting the power cables and securing it with the associated bolts. Prepare to refit the engine to the vehicle along with all its components. by ScegliAuto More videos
|

|
For advertising on this site Write to info@scegliauto.com
ScegliAuto is not responsible for any inaccuracy of the data in the lists. To report any inaccuracy or your business (if you own the business in question), please write to info@scegliauto.com
Number of seconds to generate the page: 0.101
(c) ScegliAuto 2026 - info@scegliauto.com - Privacy policy VAT number: IT01247470535 |