
|
Do it yourself
| |||
| ||||


Replacing the Brake Pad Wear Sensor
Model: Mini Mini
R52, R50, R53
- Years 2001-2007
If the yellow warning light indicating brake wear (central circle with dashed semicircles on the sides) illuminates on the instrument panel, it means that the minimum thickness of the brake pads has been reached, causing the wear sensor circuit to open: in this case, both the pads and the sensor must be replaced. The sensor is located on the edge of the inner pad of the left front wheel or the right rear wheel, and it is sufficient to lever it out with a screwdriver; then follow the cable to reach the connector (black plastic) located near the blue speed sensor connector. If the warning light remains on after replacing the front pads and sensor, then it is the rear sensor: to confirm this before replacing it, disconnect the connector and join the contacts of the wiring connector to simulate the sensor replacement and restore continuity; when the ignition is turned on, the light will turn off after about 20 seconds. Subsequently, proceed with the replacement of the pads and sensor.
Updated on 15 February 2026 by ScegliAuto
Video tutorial
Related tutorials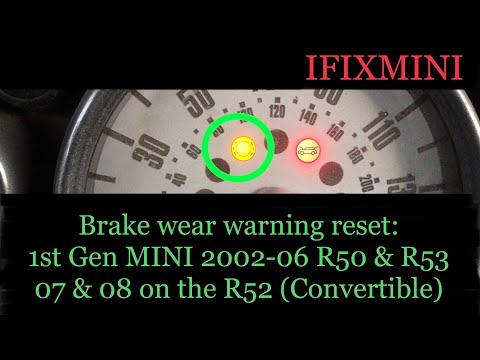
Mini
(2001-2007 /
R52, R50, R53)
Let's find out below the instructions that will allow us to reset the brake pad wear warning light of the Mini Cooper. First of all we get on board t…

Mini
(2001-2007 /
R52, R50, R53)
On the Mini Cooper R520, R52, and R53 versions, we have a warning light that indicates brake pad wear. It is certainly a very useful warning light, b…
Mini
(2014-2023 /
F57, F56, F55, F54)
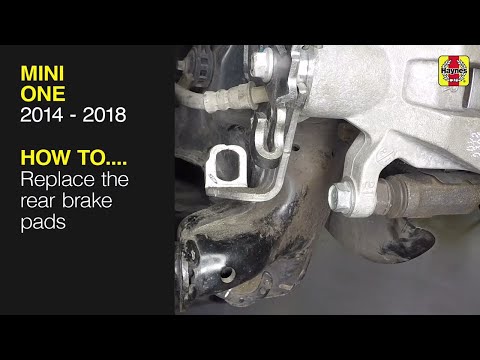
In today's video tutorial we will see how to remove and replace the rear brake pads on the Mini Cooper One F55, in simple and quick steps. First we l…
Other guides you may be interested in
|
How to Replace the Engine Air Filter on a Hyundai Matrix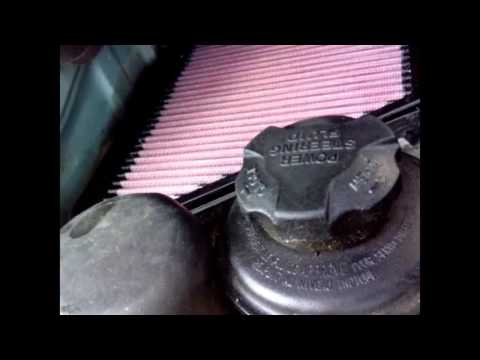
Learn how to replace the engine air filter on a Hyundai Matrix: open the car door, pull up the engine compartment release lever located at the bottom left of the dashboard, and lift the front bonnet. Secure it with the prop rod. Locate the filter box, then open the air kit (release the plastic clips) and remove the cover to extract the worn air filter. Insert a new filter into the designated housing (ensuring it fits snugly around the edges). Finally, refit the air box cover and secure it with the clips. Close the front bonnet after maintenance. by ScegliAuto More videos
|
|
For advertising on this site Write to info@scegliauto.com
ScegliAuto is not responsible for any inaccuracy of the data in the lists. To report any inaccuracy or your business (if you own the business in question), please write to info@scegliauto.com
Number of seconds to generate the page: 0.072
(c) ScegliAuto 2026 - info@scegliauto.com - Privacy policy VAT number: IT01247470535 |