
|
Do it yourself
| |||
| ||||


How to replace the water pump of the Mini Cooper S r55.
To replace the water pump of the Mini Cooper S r55, first remove the right front tire. Lift the vehicle and remove the wheel, then remove the bolts and clips securing the fender liner and remove it. Use a 10mm wrench to loosen the bolts on the pump's power pulley; remove the air conditioning duct support and take off the friction gear cap of the pump. Remove the pulley and, from the front of the vehicle, drain the coolant from the lower hose. Remove the five 10mm bolts securing the pump to the engine. It is advisable to place a container under the work area as water may spill from the pump. Extract the old pump and remove the old gasket; clean the pump's contact area before installing the new component. Once the new pump is in position, secure it in place with the corresponding bolts. Reinstall the pump pulley, insert the friction gear cap again, and reposition the water hose and air conditioning duct support. Reassemble the fender liner and the wheel. From the engine compartment, slightly loosen the coolant system bleed valve and top up the fluid to the correct level. Tighten the bleed valve and start the engine for a few minutes. Check the fluid level and top up if necessary.
Posted on 6 July 2023 by ScegliAuto
Video tutorial
Related tutorials
Mini
(2001-2007 /
R52, R53, R50)
In this guide, we will go over the main instructions on how to disassemble and replace the water pump of the Mini Cooper. To access the water pump, i…

Mini
(2007-2014 /
R57, R55, R56)
It will be possible to replace the water pump of the Mini by opening the hood to access the components inside the engine compartment: on the left sid…

Mini
(2007-2014 /
R57, R55, R56)
Today's step-by-step instructions will show us the process of disassembling and replacing the fuel pump of the Mini Cooper. First, we lower the front…
Other guides you may be interested in
|
How to Replace the Fan Resistor on a Renault Scenic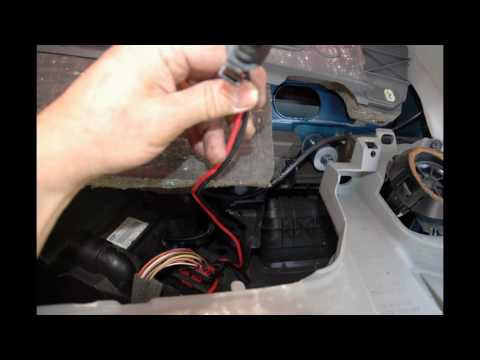
How to replace the fan resistor on a Renault Scenic. In this video, learn how to perform the disassembly: use a lever to remove the plastic under the glove compartment, and unscrew the cover (where the resistor is located) with a screwdriver. Disconnect the large connector of the resistor, then pull it out from the cabin. Insert a new fan resistor (connect the power connector). Finally, refit the cover and tighten the screws. Check the correct assembly of the previously fitted parts and test the correct operation of the fan. by ScegliAuto More videos
|

|
For advertising on this site Write to info@scegliauto.com
ScegliAuto is not responsible for any inaccuracy of the data in the lists. To report any inaccuracy or your business (if you own the business in question), please write to info@scegliauto.com
Number of seconds to generate the page: 0.064
(c) ScegliAuto 2026 - info@scegliauto.com - Privacy policy VAT number: IT01247470535 |