
|
Do it yourself
| |||
| ||||


Meaning of Dashboard Lights on the Mini R50/R53
Model: Mini Mini
R50, R52, R53
- Years:
2001, 2002, 2003, 2004, 2005, 2006, 2007
Video tutorial
In this video, you can see the meaning of the dashboard lights on the Mini R50 and R53 (non-Sat/Nav version). The first light indicates a fault in the ABS anti-lock braking system, which is off due to a malfunction; normal braking action is available. The second light comes on when the handbrake is applied. The third yellow light is the brake pad warning, which alerts you that the pads are wearing down. The red airbag light must be checked. This red light illuminates when the boot or bonnet is open. This is the yellow TPMS light, meaning there is a tyre that has lost pressure and needs to be checked. These are just the indicators that are on. This red light is very dangerous: if it comes on while driving, it indicates that the alternator is not charging the battery, which will soon discharge. This light is also very dangerous if it comes on while driving: it means there is low oil pressure; you must switch off the engine as soon as possible. This indicates a fault with the engine exhaust. Get it checked as soon as possible. The EML fault indicates a problem with the engine electronics; get it checked at the earliest opportunity. This blue light indicates that the main beam headlights are on. This temperature gauge should always be at half. If it approaches hot, pull over and switch off the engine to avoid serious damage. This is the fuel reserve indicator; this is the cruise control for automatic speed adjustment. Traction and stability control system: if it flashes, the system is active and assisting you. If it is on continuously, there is a problem with the system. This red light asks you to fasten your seatbelts. This yellow light tells us there is a fault with the diesel electronic system.
Updated on 31 August 2026 by ScegliAuto
Related tutorials
Mini
(2001-2007 /
R50, R52, R53)
In this video tutorial, you will learn how to remove and replace the lock module on the Mini One and Cooper, in R50 and R53 versions. First, open the…
Mini
(2001-2007 /
R50, R52, R53)
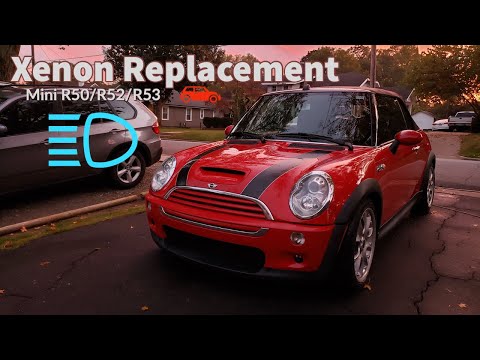
Replacing the front bulbs (in this tutorial, we will take the dipped beam as an example) on Mini R50, R52, and R53 is really simple, and now you will…
Mini
(2001-2007 /
R50, R52, R53)
In this video tutorial, you will learn how to dismantle and replace the remote key battery on the Mini Cooper, models R50, R52, and R53. First, take …
ScegliAuto offers an extensive international collection of automotive tutorials available in 12 languages. Each guide combines instructional videos with original explanations written by experienced human editors, along with information about the car models covered.
Other guides you may be interested in
|
How to Adjust the Headlights on a Volkswagen Golf 7
This brief video tutorial shows the necessary steps to manually adjust the headlights on a seventh-generation Volkswagen Golf, produced from 2012 to 2019. Adjusting the dipped beam headlights is a very simple task. Open the bonnet and locate the adjustment screw at the back of the headlights as shown in the video. Once located, use a 6 mm Allen key to turn the screw clockwise or anti-clockwise to raise or lower the beam. by ScegliAuto More videos
|
|
For advertising on this site Write to info@scegliauto.com
ScegliAuto is not responsible for any inaccuracy of the data in the lists. To report any inaccuracy or your business (if you own the business in question), please write to info@scegliauto.com
Number of seconds to generate the page: 0.083
(c) ScegliAuto 2026 - info@scegliauto.com - Privacy policy - About us VAT number: IT01247470535 |
