
|
Do it yourself
| |||
| ||||


Video tutorial
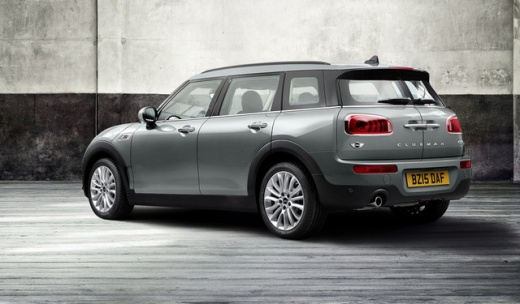
In this video, see how to replace the battery in a Mini Cooper: until recently, this was a simple task, but it has now become more technical: you must disconnect the air intake, the air filter drawer, which gives access to a panel located in front of the battery. This panel must then be removed to access the clamp that secures the battery to the vehicle's chassis. After replacing the battery, you must also re-initialise some components: for example, you need to inform the engine control unit that the battery has been replaced. This operation must be done via the EOBD port and a diagnostic tool.
Updated on 25 September 2026 by ScegliAuto
Related tutorials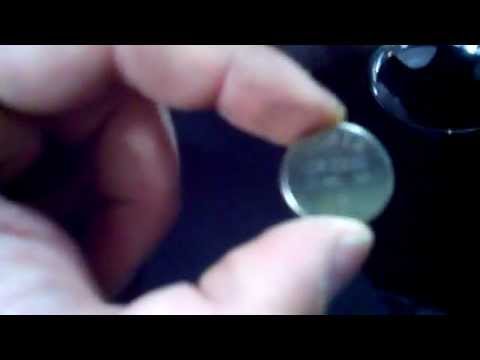
Mini
(2001-2007 /
R50, R52, R53)
To replace the battery in a Mini Cooper key fob, use a tool like a screwdriver to pry open the circular cover on the back of the fob. This will allow…
Mini
(2007-2014 /
R57, R56, R55)
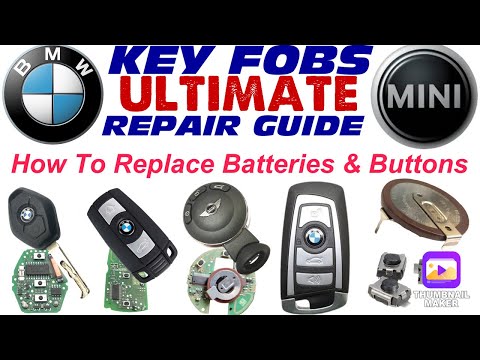
Good morning, today’s goal is to replace the key battery on our Mini Cooper. Start by prying off and removing the back cover of the key using a thin …
Mini
(2001-2007 /
R50, R52, R53)
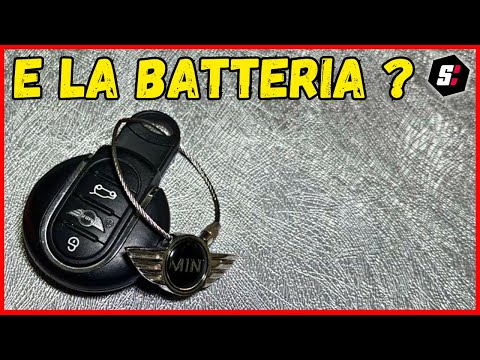
To replace the remote battery of the Mini Cooper, use an object like a screwdriver to pry at the back of the device: this will detach the cover with …
ScegliAuto offers an extensive international collection of automotive tutorials available in 12 languages. Each guide combines instructional videos with original explanations written by experienced human editors, along with information about the car models covered.
Other guides you may be interested in
|
Frequently Asked QuestionsHow to Adjust the Headlights on a Volkswagen Golf 7
This brief video tutorial shows the necessary steps to manually adjust the headlights on a seventh-generation Volkswagen Golf, produced from 2012 to 2019. Adjusting the dipped beam headlights is a very simple task. Open the bonnet and locate the adjustment screw at the back of the headlights as shown in the video. Once located, use a 6 mm Allen key to turn the screw clockwise or anti-clockwise to raise or lower the beam. by ScegliAuto More videos
|
|
For advertising on this site Write to info@scegliauto.com
ScegliAuto is not responsible for any inaccuracy of the data in the lists. To report any inaccuracy or your business (if you own the business in question), please write to info@scegliauto.com
Number of seconds to generate the page: 0.076
(c) ScegliAuto 2026 - info@scegliauto.com - Privacy policy - About us VAT number: IT01247470535 |
