
|
Do it yourself
| |||
| ||||


Replacing the Rear Side Indicator Bulb
Model: Mini Mini
R56, R57, R55
- Years 2007-2014
I will explain how to replace the rear side indicator bulb of your car with simple steps and perhaps a bit of skill. Gather a cross-head screwdriver and the new bulb. Go under the wheel arch with your screwdriver, where you will find several plastic screws. Unscrew the two screws at the bottom, remove them, and set them aside. Now you will face the indicator bulb holder; using two fingers, take the holder and unscrew the end by turning it clockwise to extract it. Then, remove the old bulb and replace it with a new one. Now insert the end back into the indicator bulb holder and close the mechanism by turning it anti-clockwise. Reassemble everything, and your job will be complete.
Updated on 26 February 2026 by ScegliAuto
Video tutorial
Related tutorials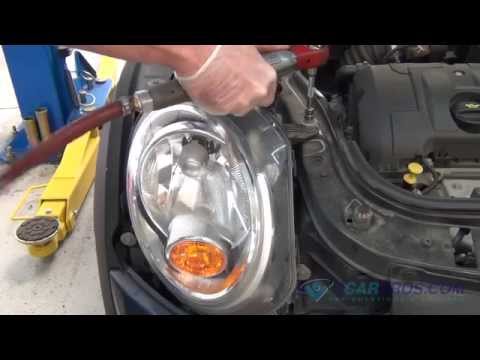
Mini
(2010-2016 /
Countryman1, R60)
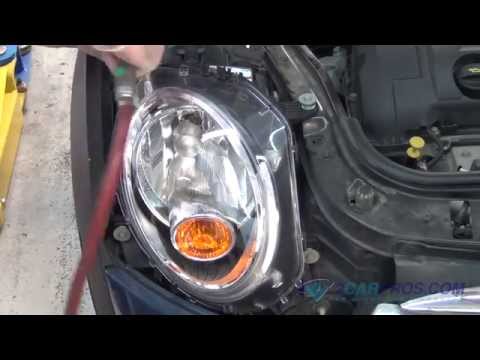
To replace the bulb of the side indicator integrated into the front bumper, you need to remove the headlamp to access the bulb holder. Open the front…

Mini
(2001-2007 /
R52, R50, R53)
Replacing the indicator light bulb of a Mini Cooper. We remove the spotlight from inside the side fender. We remove the spotlight of the license plat…
Mini
(2010-2016 /
Countryman1, R60)
Replacing the front fog light bulb requires removing the headlamp, which is quite straightforward, to access the bulb holder located in the bumper. O…
Other guides you may be interested in
|
How to Open the Key Battery of a Volkswagen Golf 7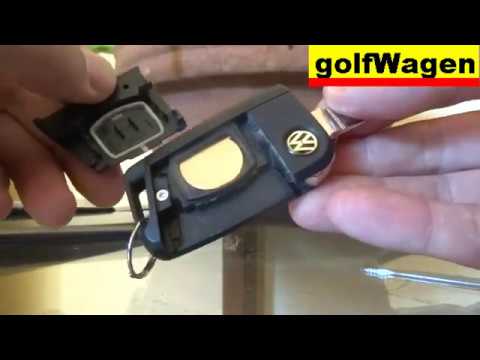
How do you open the key fob of a Volkswagen Golf Series 7? Take your key fob and press the release button of the metal key; once the metal key pops out, use a screwdriver to pry between the two halves of the key fob (in the space where the metal key fits). Pry until the cover opens, then extract the worn battery with a small screwdriver. Get a new battery of the same size and voltage. Join the two parts: press the key fob case until you hear it click into place. Check the proper functioning of the key fob by operating the buttons. by ScegliAuto More videos
|

|
For advertising on this site Write to info@scegliauto.com
ScegliAuto is not responsible for any inaccuracy of the data in the lists. To report any inaccuracy or your business (if you own the business in question), please write to info@scegliauto.com
Number of seconds to generate the page: 0.080
(c) ScegliAuto 2026 - info@scegliauto.com - Privacy policy VAT number: IT01247470535 |