
|
Do it yourself
| |||
| ||||


Complete Car Radio Disassembly
Model: Mitsubishi Pajero
V20, MK 2
- Years 1991-1999
Remove the screws from the plastic trim and then the screws from the radio console. Gently lift the complete car radio unit to allow for the removal of the connectors. Once the car radio is removed, take out the fixing screws of the switch and carefully remove it. Also disconnect the connecting cable. Refit the switch onto the navigator you will install and reconnect the cable. Before refitting the navigator, it is essential to install the satellite antenna on the roof and wire the cable to the car radio compartment. Reconnect all cables to the navigator and position the navigator in the car radio compartment, securing it with screws. Refit the trim. Turn on the navigator to test its proper functioning.
Updated on 8 February 2026 by ScegliAuto
Video tutorial
Related tutorials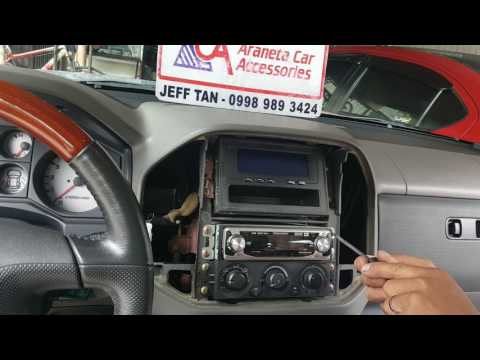
Mitsubishi Pajero
(1999-2006 /
MK 3, V60)
Remove the trim surround around the radio using a plastic lever (where the air vents are located). Once the cover panels above the centre console are…
Mitsubishi Pajero
(2006-2021 /
MK 4, V80)
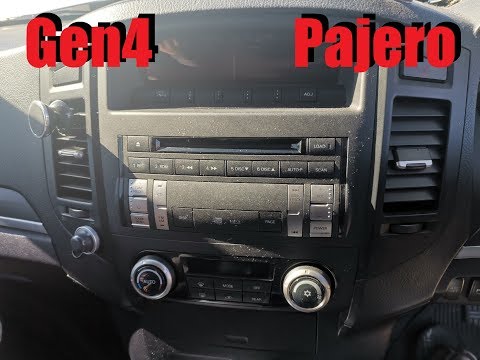
In this tutorial, you will learn how to remove the car radio from a Mitsubishi Pajero. First, obtain some very thin plastic levers and use them to un…
Mitsubishi Pajero
(1991-1999 /
V20, MK 2)
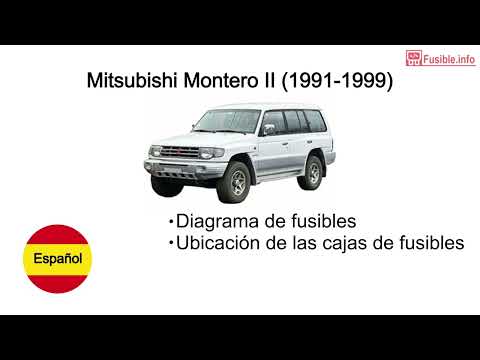
This video shows where the fuse boxes are located in the Mitsubishi Montero (known in Europe as Pajero) in its first version: the cabin fuse box is f…
Other guides you may be interested in
|
How to Replace the External Wing Mirror on a Ford C MAX
In the event of a breakage, it will be necessary to replace the external wing mirror on the 2011 Ford C MAX. This operation is easily performed independently. Start by removing the internal cover of the mirror with a plastic lever. Then, use a socket wrench to remove the securing pins. Once the pins are removed, you can take off the mirror, but not before disconnecting the power connectors. Then proceed to fit the new mirror. First, connect the connectors and then secure the mirror to its housing with the pins. Refit the plastic cover and test the operation of the electric mirror using the controls. by ScegliAuto More videos
|
|
For advertising on this site Write to info@scegliauto.com
ScegliAuto is not responsible for any inaccuracy of the data in the lists. To report any inaccuracy or your business (if you own the business in question), please write to info@scegliauto.com
Number of seconds to generate the page: 0.127
(c) ScegliAuto 2026 - info@scegliauto.com - Privacy policy VAT number: IT01247470535 |
