
|
Do it yourself
| |||
| ||||


How to Replace the Cabin Filter on Nissan Pathfinder
Model: Nissan Pathfinder
MK 3, R51
- Years 2005-2012
In this video tutorial, see how to replace the cabin filter on a Nissan Pathfinder by following a few simple steps: first, purchase a new pollen filter from an authorised dealer; next, get inside the vehicle, turn off the engine, and pull the handbrake. The pollen filter is located inside the car behind the glove compartment, so remove all items from it; lift and remove the side plastic bar; slightly lift the rubber to extract the second piece and then release the screw. Unscrew the two screws located under the drawer; also remove the two screws inside the glove compartment. Remove the drawer, take off the filter cover, and remove the filter from its housing. Position the new filter according to the arrow indication on the filter itself. Refit all parts in reverse order.
Updated on 5 June 2026 by ScegliAuto
Video tutorial
Related tutorials
Nissan Pathfinder
(2021-2026 /
R53)
Thanks to the following guide, you will be able to replace the cabin air filter of your latest model Nissan Pathfinder completely independently. Firs…
Nissan Pathfinder
(1996-2004 /
MK 1, R50)
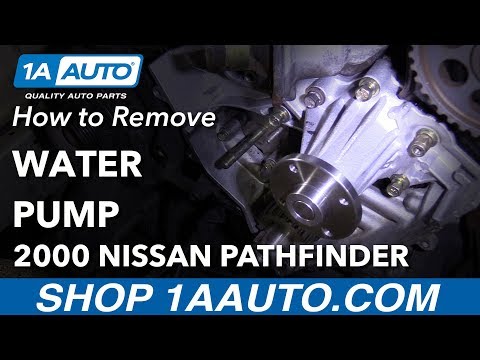
To replace the water pump on a Nissan Pathfinder, access the left side of the engine block: the water pump is located on the left side of the unit. I…

Nissan Pathfinder
(2012-2020 /
MK 4, R52)
In order to correctly complete the replacement of the battery inside the key of your Nissan Pathfinder Mk4, you must read the following guide and fol…
Other guides you may be interested in
|
How to Open the Bonnet on the Lancia Y
To open the bonnet on this vehicle, follow these simple instructions: first, open the driver's door and locate the lever positioned just below the dashboard, marked with an image of the vehicle with the bonnet open. Pull this lever towards you until you hear a "click" indicating the bonnet is released. Next, exit the cabin and stand in front of the bonnet to disengage the safety catch and complete the opening. To do this, slightly lift the bonnet, locate the yellow lever underneath, and pull it to the left to fully release and open the bonnet. by ScegliAuto More videos
|
|
For advertising on this site Write to info@scegliauto.com
ScegliAuto is not responsible for any inaccuracy of the data in the lists. To report any inaccuracy or your business (if you own the business in question), please write to info@scegliauto.com
Number of seconds to generate the page: 0.398
(c) ScegliAuto 2026 - info@scegliauto.com - Privacy policy VAT number: IT01247470535 |
