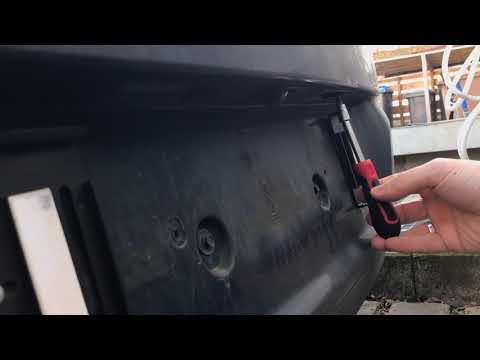
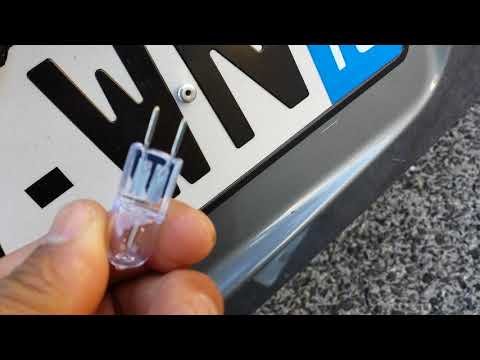
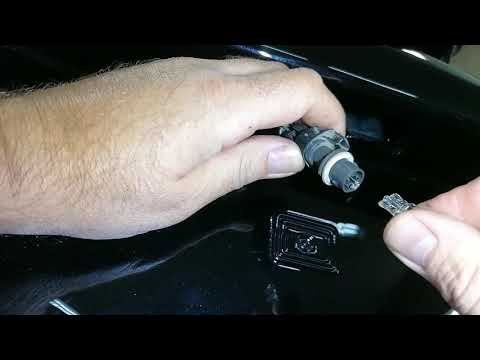
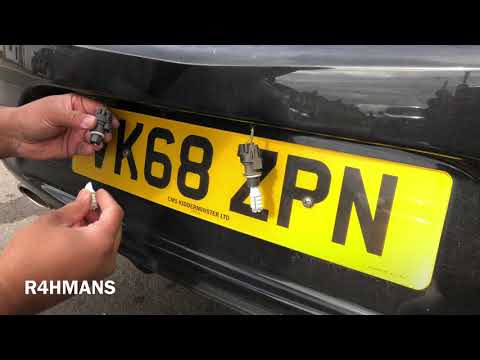
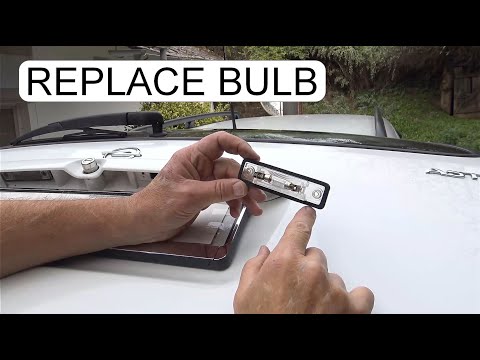
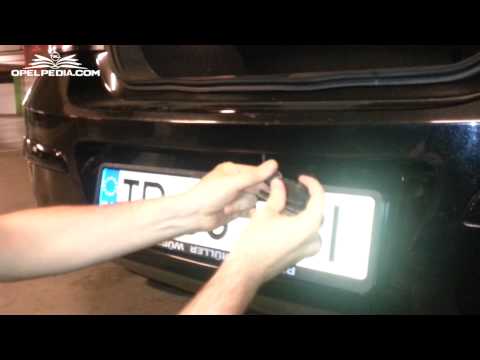
Vauxhall Astra - License plate light
(1)
Cigarette Lighter (1)
Airbags (13)
Alternator (5)
Loudspeaker (5)
Shock absorbers (4)
Antenna (7)
Air conditioning (6)
Car stereo (36)
Anti roll bar (3)
Roof Rack Bars (1)
Battery (11)
Coil (3)
Air Vents (2)
Arm (5)
Grille (1)
Gearbox (4)
Spark plugs (10)
Glow plugs (9)
Bodywork (10)
Glove box (1)
Control unit (7)
Key (58)
Locking the trunk (2)
Timing belt (21)
V-belt (3)
Air conditioning controls (3)
-board computer (38)
Checks and maintenance (130)
Throttle body (3)
Dashboard (11)
Gearshift gaiter (6)
Bearing (1)
Mass air flow sensor (2)
Brake discs (7)
Headlight (21)
Tail light (8)
Fog lights (5)
Particulate filter (2)
Air filter (17)
Cabin air filter (25)
Petrol filter (3)
Diesel filter (14)
Oil filter (5)
Hand brake (3)
Clutch (6)
Injectors (2)
Window lift switch (1)
Reverse gear switch (1)
Accessory Kit (12)
Light bulb (7)
Side turn signal light bulb (2)
Headlight bulb (45)
Rear light bulb (13)
Interior lights ceiling light bulb (9)
Antifreeze liquid (3)
Dashboard light (2)
License plate light (7)
Third brake light (2)
Handle (3)
Muffler (3)
Engine (31)
Starter motor (14)
Gear oil (2)
Engine oil (20)
Door panel (35)
Front bumper (14)
Rear bumper (9)
Brake pads (11)
Hydraulic pistons (3)
Tires (6)
Gear Shift Knob (18)
Pump (8)
Fuel pump (13)
Door (3)
Push button (1)
Window lift button (1)
Instrument cluster (49)
Radiator (9)
Passenger compartment heating radiator (6)
Cockpit heating cock (1)
Fuse box (42)
Seat (21)
Drive shaft (2)
Crankshaft RPM sensor (5)
Coolant temperature sensor (5)
Lock (6)
Lambda sensor (3)
Suspensions (3)
Outside rearview mirror (26)
Drums and shoes (2)
Windscreen wipers (13)
Thermostat (8)
Engine head (4)
Central tunnel (2)
Turbine (7)
Windshield washer nozzle (1)
Valve (4)
EGR valve (24)
Interior blower (6)
Steering wheel (8)
|
How do you adjust the clutch cable on the Kia Picanto?
To be able to adjust the clutch cable of the Kia Picanto you need to open the hood so that you have access to the components inside the engine compartment: in order to reach the cable you will need to remove some components on the right side, such as the battery and the air filter. Below them you will find the clutch cable, which will have to be adjusted by screwing or loosening the bolt placed at the end of the cable. This will make the pedal harder or softer; after the adjustment, it will be possible to assemble all the components by closing the hood.
Watch the video!
by ScegliAuto
More videos
|