
|
Do it yourself
| |||
| ||||


Vauxhall Astra - Windscreen wipers Vauxhall Astra (2015-2022 / Astrak)
How to replace the rear windshield wiper arm of the Opel Astra Below we will see the steps that will allow us to disassemble and replace the rear windshield wiper arm of the Opel Astra, along with its wiper blade. First of …read all… Posted on 19 May 2024 by ScegliAuto 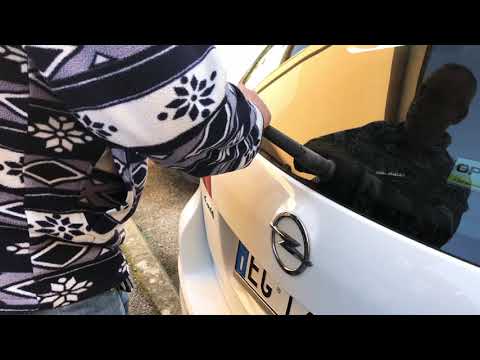 Vauxhall Astra (2009-2016 / Astraj)
How to replace the rear wiper blade of an Opel Astra J. Let's see how to quickly replace the rear wiper blade of the Opel Astra J: we need to take the wiper blade and pull it all the way up until it clicks into the …read all… Posted on 28 July 2023 by ScegliAuto  Vauxhall Astra (2009-2016 / Astraj)
How to replace the rear wiper in an Opel Astra J In this video tutorial we can see how it is possible to replace the rear windscreen wiper in an Opel Astra J by following a few simple steps: get into the car, …read all… Posted on 22 April 2023 by ScegliAuto 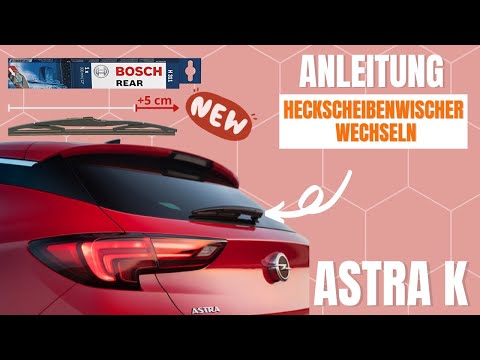 Vauxhall Astra (2015-2022 / Astrak)
How to replace the rear wiper in the Opel Astra? As we can see in this tutorial, replacing the rear wiper on your Opel Astra is an extremely simple and fast operation. First of all, make sure that the …read all… Posted on 17 April 2023 by ScegliAuto 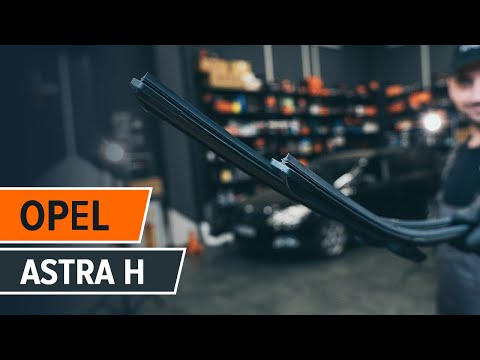 Vauxhall Astra (2004-2010 / Astrah)
Replace the front wipers on the Opel Astra H. In this video tutorial we will see the main steps on how to disassemble and replace the front wiper blades on the Opel Astra H, following the instructions …read all… Posted on 23 February 2024 by ScegliAuto 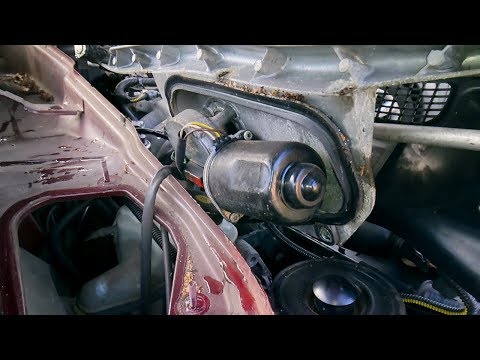 Vauxhall Astra (2004-2010 / Astrah)
How to replace the wiper motor on an Opel Astra Before starting, we will have to open the front hood of our Opel Astra. Let's start by disconnecting the main electrical connector, and then removing the upper …read all… Posted on 24 January 2024 by ScegliAuto
Vauxhall Astra (2004-2010 / Astrah)How to replace the wiper motor on an Opel Astra? Before we can begin, we will have to go and open the front hood of our Opel Astra. So let's start by disconnecting the main electric plug of the wiper motor, …read all… Posted on 24 January 2024 by ScegliAuto
Vauxhall Astra (1998-2006 / Astrag)How to replace the front wiper motor on an Opel Astra Before we can start, we'll need to open the front hood. So let's start by disconnecting the motor plug, located near the water tank. After that we will have to …read all… Posted on 31 December 2023 by ScegliAuto 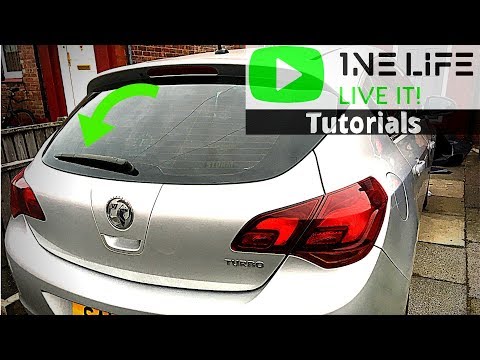 Vauxhall Astra (2009-2016 / Astraj)
Opel Astra rear wiper blade replacement Is the rear wiper blade of the Opel Astra broken? Let's see how the rear brush is removed. We take the front brush with our hands, pull it as in the video …read all… Posted on 11 December 2023 by ScegliAuto 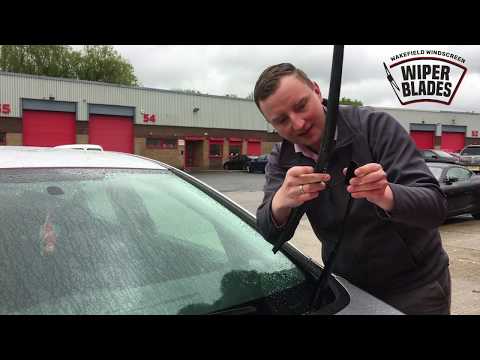 Vauxhall Astra (2009-2016 / Astraj)
How to replace the windshield wiper on the opel Astra Is the Opel Astra wiper blade damaged? Let's see how the front brush is removed. We take the front brush with our hands, pull it as in the video (gently …read all… Posted on 11 December 2023 by ScegliAuto  Vauxhall Astra (2004-2010 / Astrah)
Positioning of wipers for windscreen cleaning In the event of heavy snowfalls, if the windshield is completely covered with snow, it is advisable to free it from excess snow before even activating the …read all… Posted on 18 August 2023 by ScegliAuto 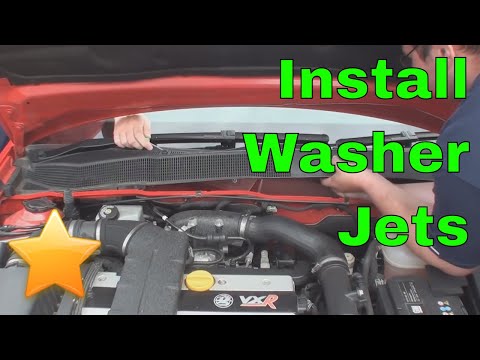 Vauxhall Astra (2004-2010 / Astrah)
Replacement of the wiper nozzles It may happen that due to the hardness of the water, the wiper fluid spray nozzles can become clogged. Replacing them is quite simple: open the front hood and …read all… Posted on 5 August 2023 by ScegliAuto 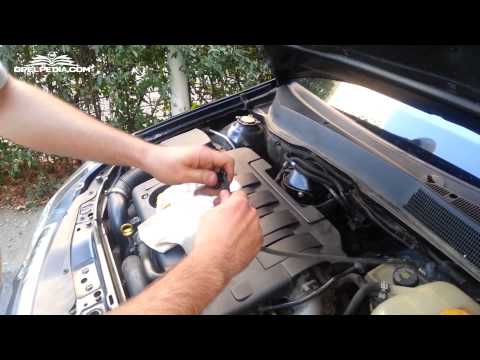 Vauxhall Astra (2004-2010 / Astrah)
Replacement of the wiper nozzles To replace the wiper fluid nozzles, the blades must first be disassembled: then remove the protective caps from the fixing nuts of the brush arms; then unscrew …read all… Posted on 4 August 2023 by ScegliAuto (1) Cigarette Lighter (1) Airbags (13) Alternator (5) Loudspeaker (5) Shock absorbers (4) Antenna (7) Air conditioning (6) Car stereo (36) Anti roll bar (3) Roof Rack Bars (1) Battery (11) Coil (3) Air Vents (2) Arm (5) Grille (1) Gearbox (4) Spark plugs (10) Glow plugs (9) Bodywork (10) Glove box (1) Control unit (7) Key (58) Locking the trunk (2) Timing belt (21) V-belt (3) Air conditioning controls (3) -board computer (38) Checks and maintenance (130) Throttle body (3) Dashboard (11) Gearshift gaiter (6) Bearing (1) Mass air flow sensor (2) Brake discs (7) Headlight (21) Tail light (8) Fog lights (5) Particulate filter (2) Air filter (17) Cabin air filter (25) Petrol filter (3) Diesel filter (14) Oil filter (5) Hand brake (3) Clutch (6) Injectors (2) Window lift switch (1) Reverse gear switch (1) Accessory Kit (12) Light bulb (7) Side turn signal light bulb (2) Headlight bulb (45) Rear light bulb (13) Interior lights ceiling light bulb (9) Antifreeze liquid (3) Dashboard light (2) License plate light (7) Third brake light (2) Handle (3) Muffler (3) Engine (31) Starter motor (14) Gear oil (2) Engine oil (20) Door panel (35) Front bumper (14) Rear bumper (9) Brake pads (11) Hydraulic pistons (3) Tires (6) Gear Shift Knob (18) Pump (8) Fuel pump (13) Door (3) Push button (1) Window lift button (1) Instrument cluster (49) Radiator (9) Passenger compartment heating radiator (6) Cockpit heating cock (1) Fuse box (42) Seat (21) Drive shaft (2) Crankshaft RPM sensor (5) Coolant temperature sensor (5) Lock (6) Lambda sensor (3) Suspensions (3) Outside rearview mirror (26) Drums and shoes (2) Windscreen wipers (13) Thermostat (8) Engine head (4) Central tunnel (2) Turbine (7) Windshield washer nozzle (1) Valve (4) EGR valve (24) Interior blower (6) Steering wheel (8) |
How do you adjust the clutch cable on the Kia Picanto?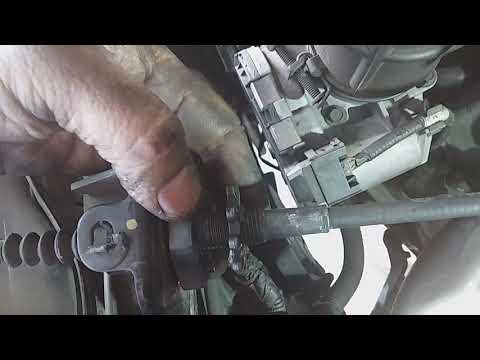
To be able to adjust the clutch cable of the Kia Picanto you need to open the hood so that you have access to the components inside the engine compartment: in order to reach the cable you will need to remove some components on the right side, such as the battery and the air filter. Below them you will find the clutch cable, which will have to be adjusted by screwing or loosening the bolt placed at the end of the cable. This will make the pedal harder or softer; after the adjustment, it will be possible to assemble all the components by closing the hood. by ScegliAuto More videos
|
|
For advertising on this site Write to info@scegliauto.com
ScegliAuto is not responsible for any inaccuracy of the data in the lists. To report any inaccuracy or your business (if you own the business in question), please write to info@scegliauto.com
Number of seconds to generate the page: 0.051
(c) ScegliAuto 2024 - info@scegliauto.com - Privacy Policy VAT number: IT01247470535 |